How to Clean Bathroom Grout Without Harsh Scrubbing
Bathroom grout can look dirty even when the rest of the room is clean. The lines collect soap film, minerals, body oils, moisture, and dust, so they slowly turn gray or yellow. The frustrating part is that hard scrubbing often makes the job feel bigger without actually solving the reason the grout looks dull.
Learning how to clean bathroom grout without harsh scrubbing means using time, moisture control, and the right tool instead of force. Gentle cleaning protects the grout, saves your wrists, and helps you see whether the problem is surface residue, mildew, mineral buildup, or older staining.
Identify what is sitting on the grout first
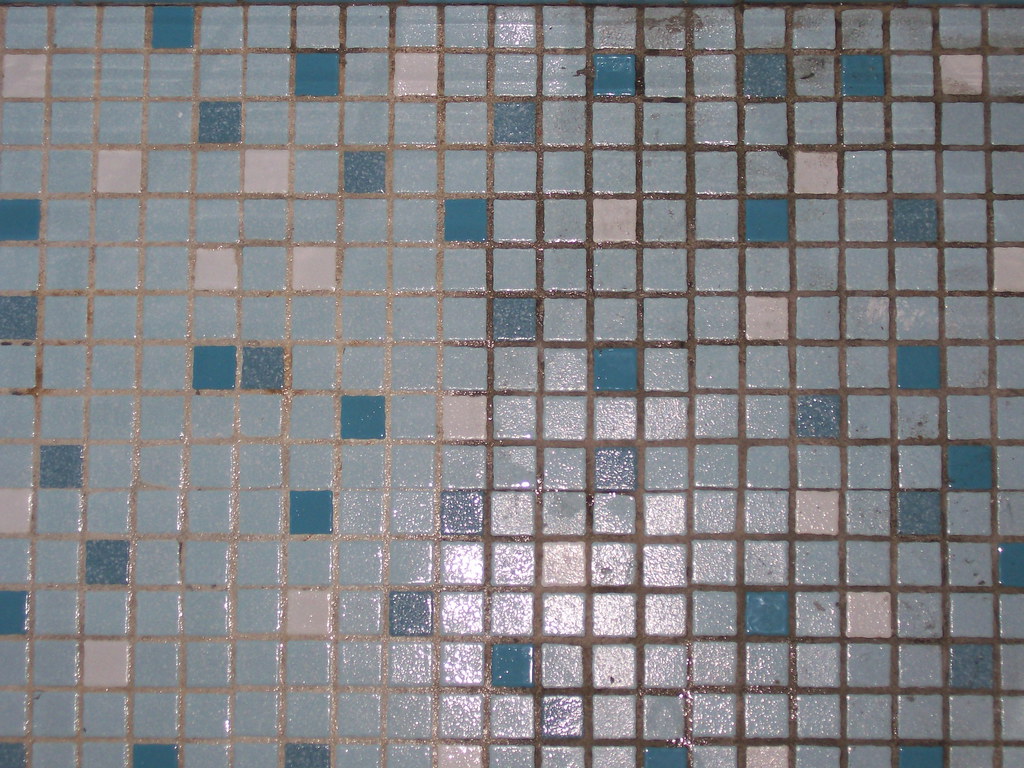
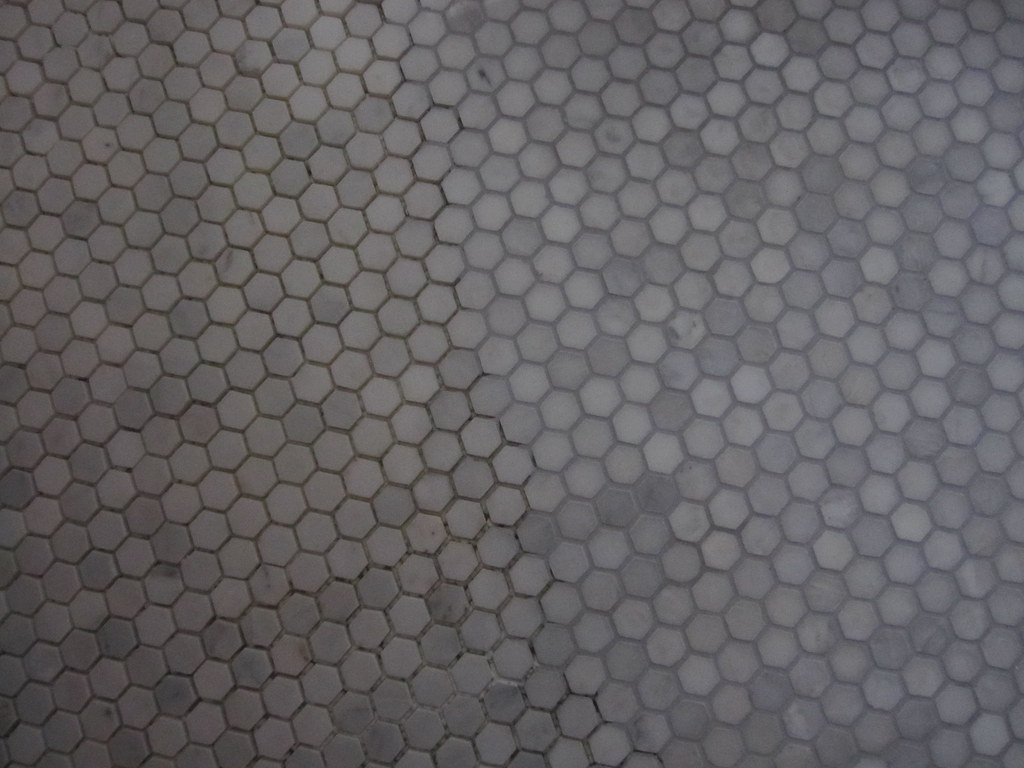
Grout does not always need the same treatment. A shower wall with soap film is different from a floor line stained by wet shoes or a vanity backsplash marked by toothpaste. Before mixing anything, look at where the discoloration appears. Corners and lower shower lines often point to moisture. Floor paths may point to tracked-in dirt. Areas near soap dishes may point to product buildup.
Wipe one small section with warm water and a cloth. If the line brightens quickly, the issue is probably surface grime. If it stays dark, it may need dwell time, a different cleaner, or realistic expectations. Some old grout is stained below the surface, and no gentle method will make it look new in one pass.
Also check the condition of the grout. Cracked, missing, powdery, or loose grout should not be attacked with stiff brushes or strong cleaners. Cleaning can improve appearance, but damaged grout may need repair. A careful look prevents turning a cleaning task into a repair problem.
That inspection also helps you choose a realistic test patch. Pick one short line near the stain, not the most visible part of the bathroom, so you can judge the method before treating the whole surface.
Good grout cleaning starts by reading the stain before choosing the cleaner.
Let warm water and dwell time do part of the work
The easiest way to reduce scrubbing is to let the cleaner sit long enough to loosen residue. Start with warm water, a mild bathroom cleaner, or a gentle dish-soap solution on a small area. Apply it to the grout lines and wait a few minutes before brushing. This gives the product time to soften buildup instead of asking the brush to do everything.
Dwell time should be controlled, not forgotten. Letting a cleaner dry on the surface can leave residue and make rinsing harder. Work in sections small enough that you can apply, wait, brush lightly, rinse, and dry before moving on. In a shower, that may mean one wall or one lower corner at a time. On a floor, it may mean a few square feet.
For ordinary bathroom grout, patience usually works better than pressure. A soft brush moved steadily along the line can lift loosened grime without chewing up the grout. If you feel yourself pressing hard, stop and give the cleaner more time or switch to a smaller brush that fits the grout line better.
Dwell time is the quiet substitute for harsh scrubbing.
Choose a brush that fits bathroom grout lines
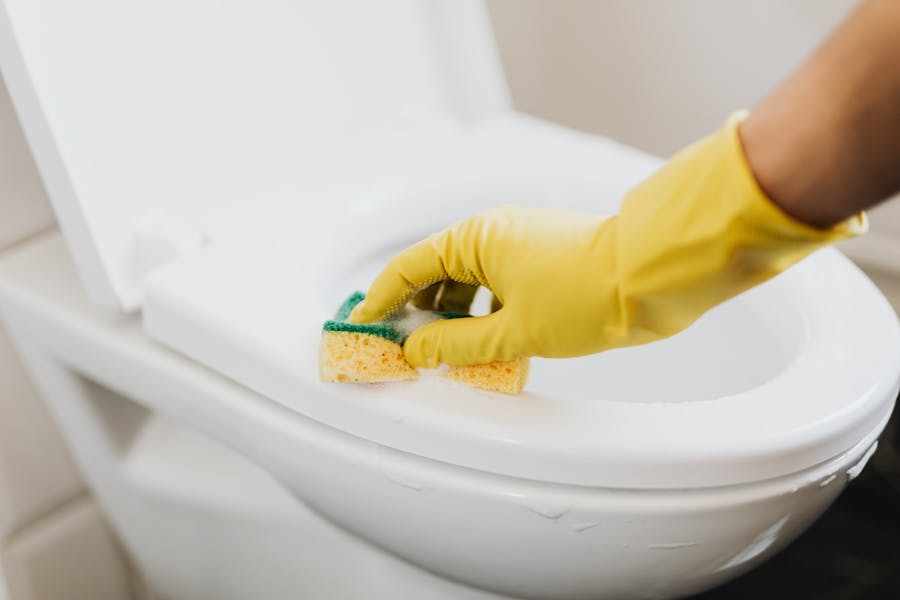
The brush matters because grout lines are narrow. A brush that is too wide mostly rides over the tile and misses the line. A brush that is too stiff can scratch nearby surfaces or wear down older grout. A small nylon grout brush, old toothbrush, or soft detail brush usually gives more control than a large scrub brush.
Move the brush along the line rather than grinding in circles across the tile. Short strokes let the bristles reach into the groove. Keep the pressure moderate and repeat if needed. If the line is still dirty after a gentle pass, add more cleaner and wait again instead of pushing harder.
Useful gentle tools include:
- A nylon grout brush for narrow tile lines.
- An old toothbrush for corners and small patches.
- A microfiber cloth for wiping loosened residue.
- A spray bottle for applying water or cleaner evenly.
- A small cup or squeeze bottle for controlled rinsing.
Avoid metal brushes on bathroom grout. They can scratch tile, leave dark marks, and damage the grout surface. If a stain needs that much force, the problem may not be ordinary surface dirt.
Apply a gentle paste only where the grout needs it
A mild paste can help with stubborn surface grime, but it should be used with care. Many people cover the whole bathroom in paste and then create a huge rinsing job. A better approach is to treat only the lines that still look dull after the first gentle cleaning pass. This keeps the job smaller and reduces residue.
A simple baking soda and water paste can sit on the grout for a short time before light brushing. Keep it damp enough to spread and remove. Thick paste that dries into cracks can be annoying to rinse. Test a hidden spot first, especially on colored grout or delicate tile, because even mild methods can change the look of some surfaces.
Do not mix random cleaners. Combining products can create fumes or damage surfaces. If you use one cleaner, rinse it away before trying another. That pause may feel slow, but it is safer for the bathroom and for you. The home system works better when the routine is simple enough to repeat, and dust-control routine can support that habit in another part of the house.
Use paste when you see:
- Small dark patches that remain after soap and warm water.
- Residue around shampoo or soap areas.
- Floor grout lines in the main walking path.
- Old splashes near the sink or vanity.
- A few problem spots rather than the whole room.
Rinse and dry bathroom grout so it does not look cloudy again
Rinsing is where many grout-cleaning jobs lose their shine. Cleaner, loosened dirt, and baking soda residue can dry back into the grout line and leave it hazy. After brushing, wipe the area with a damp cloth, rinse the cloth often, and repeat until the tile no longer feels slick or gritty.
Drying matters too. Bathroom grout stays cleaner when moisture does not sit in the lines for hours. Use a dry microfiber cloth on walls, corners, and floors after rinsing. In showers, a quick squeegee after regular use can slow down the return of soap film and mineral spots.
Ventilation helps the result last. Run the fan, open a window if possible, and keep shower products from dripping onto the same grout lines every day. A clean line that stays wet constantly will not stay bright for long.
If the grout still looks uneven after rinsing and drying, wait until it is fully dry before judging. Wet grout often looks darker, and some stains only become clear once the surface moisture is gone.
This final wipe is not decorative. It removes the last film that would otherwise catch dust, especially on floor grout beside the tub, vanity, or toilet base.
Keep bathroom grout cleaner with a simple routine
Grout is easier to maintain than rescue. A short routine keeps buildup from turning into a weekend project. The key is to remove soap film and moisture before they settle into the lines. You do not need to deep clean every week; you need small habits that prevent the worst buildup.
Use this gentle routine:
- Spray or wipe high-use grout lines with warm water after heavy use.
- Let a mild cleaner sit briefly on dull areas before brushing.
- Brush only the grout lines that need attention.
- Rinse with a clean damp cloth until residue is gone.
- Dry the area and run ventilation so moisture clears.
- Repeat small touch-ups before the grout turns dark again.
If grout stains return very quickly, look for the cause. Poor ventilation, leaky fixtures, constantly wet bath mats, too many bottles in the shower, or failing grout can all make cleaning less effective. The routine should fit the bathroom, not just the stain.
Cleaning bathroom grout without harsh scrubbing is mostly about slowing down at the right moments. Identify the residue, use dwell time, choose a brush that fits, treat stubborn spots only where needed, rinse carefully, and dry the area. The grout may not look brand new every time, but it can look cleaner without turning the job into a battle.