How to Organize Deep Shelves So Nothing Gets Lost
Deep shelves can look generous at first. They hold big boxes, extra towels, pantry overflow, craft supplies, linens, cleaning refills, and seasonal items. Then the back half disappears from daily life, and the same shelf starts collecting duplicates because nobody can see what is already there.
How to organize deep shelves so nothing gets lost starts with access, not decoration. The goal is to make the back of the shelf useful without turning every item into a small search project. Deep storage needs zones, containers, labels, and a limit on what is allowed to hide behind the front row.
Empty the shelf before choosing containers
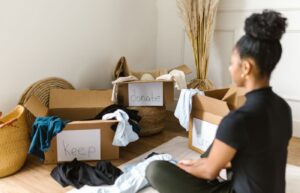
The first step is taking everything off the shelf. Deep shelves often hide old duplicates, expired items, missing lids, empty packages, and supplies that belong in a different room. If you try to organize around those items, the shelf may look better for a week but still behave the same way.
Place items on a table or floor and group them by use. Put towels with towels, candles with candles, extra toiletries with extra toiletries, craft supplies with craft supplies, and pantry overflow with pantry overflow. This shows which categories are actually large enough to deserve shelf space and which ones are just leftovers from past organizing attempts.
Do not buy bins before this step. A deep shelf can waste money quickly because large containers look helpful but may block access to smaller items. Once you know what the shelf must hold, it is easier to decide whether you need open bins, lidded boxes, baskets, risers, turntables, or fewer items.
The shelf should tell you what containers it needs after the clutter is visible.
Measure the usable depth after the shelf is empty. A bin that fits the shelf depth on paper may still be awkward if a door frame, hinge, trim edge, or nearby wall blocks the pull-out angle.
Organize deep shelves with front and back zones
A deep shelf needs two kinds of space: the easy front zone and the harder back zone. Items used often belong near the front because they should not require moving half the shelf. Items used rarely can sit in the back, but they still need a clear container or label so they are not forgotten.
The front zone should be shallow enough to remove items with one hand. This might include daily towels, current snacks, medicine overflow, pet supplies, office paper, or cleaning refills used every week. The back zone can hold seasonal extras, backup stock, guest linens, holiday items, or less-used appliances, depending on the room.
A useful rule is simple: if you need it weekly, it should not live behind something else. If you need it a few times a year, it can sit behind a labeled front container or in a clearly marked back bin. The problem is not that something is in the back; the problem is when nobody knows what is back there.
| Shelf area | Good use | Avoid |
|---|---|---|
| Front center | Daily or weekly items | Rare backup stock |
| Front sides | Small bins or short stacks | Loose items that fall behind |
| Back row | Seasonal or duplicate supplies | Unlabeled mixed clutter |
| High shelves | Light, rarely used items | Heavy boxes or breakable items |
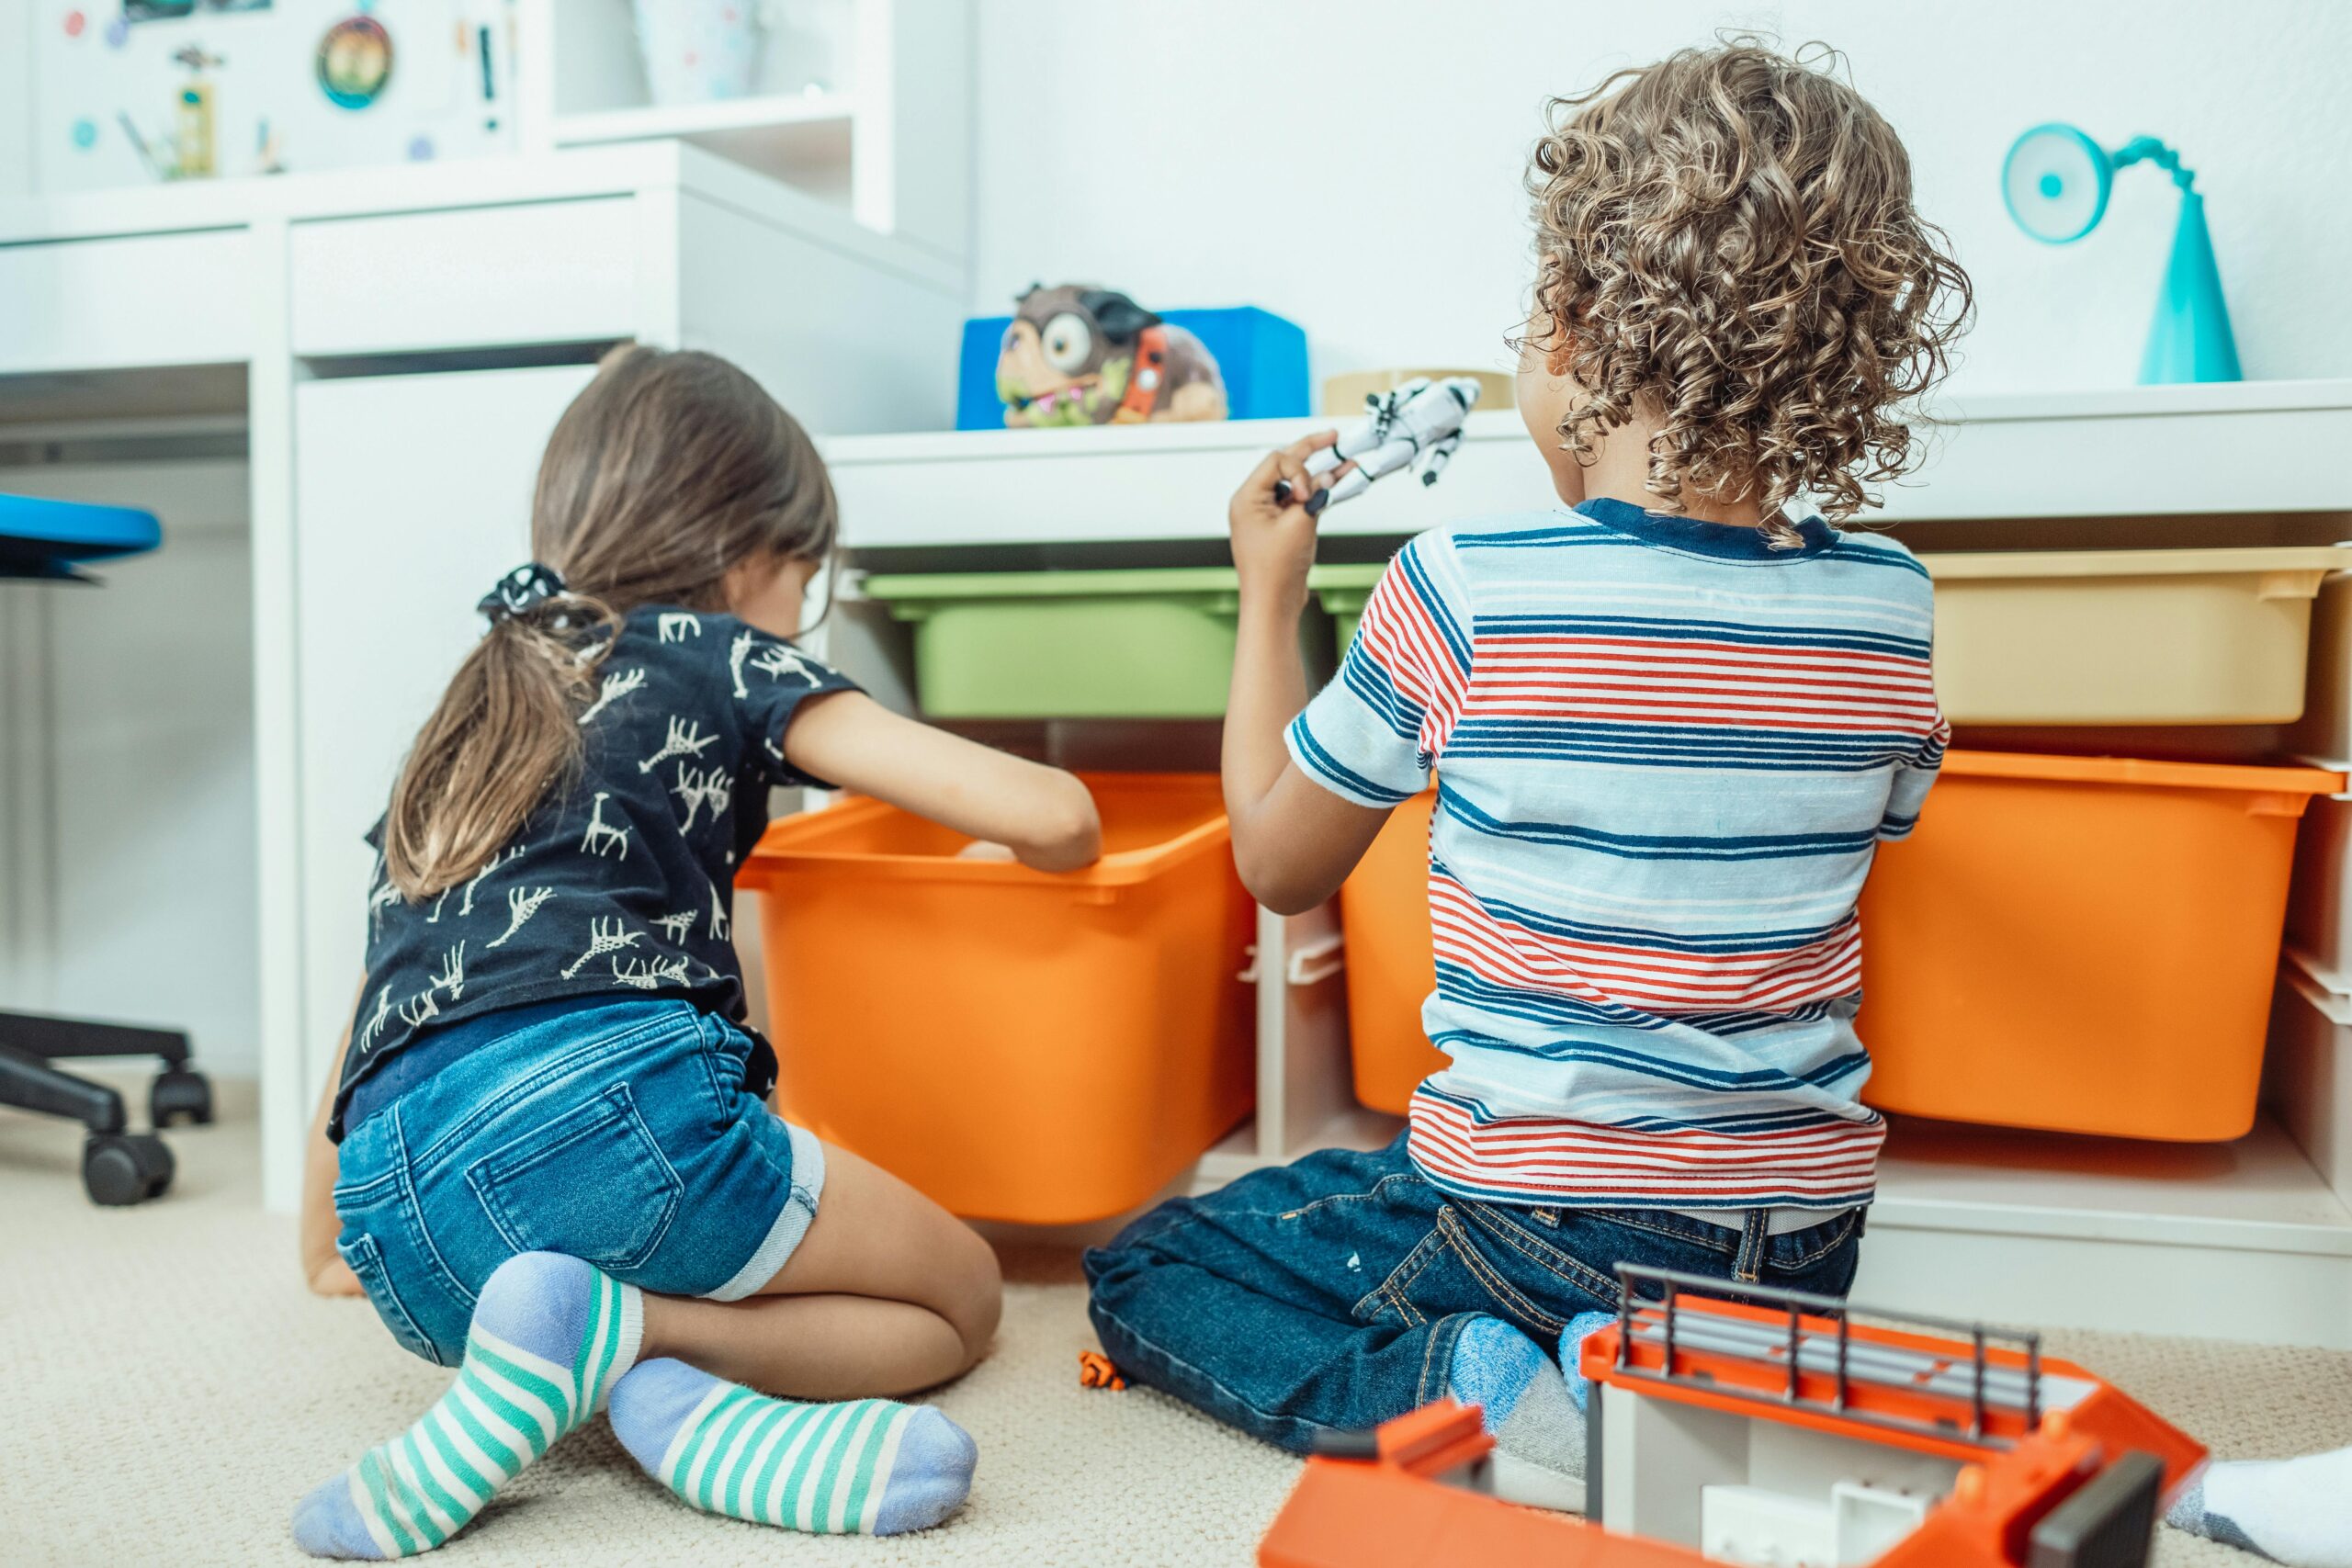
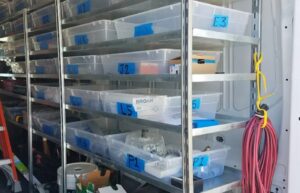
Use pull-out bins on deep shelves for small items
Small items vanish fastest on deep shelves. Batteries, toiletries, craft tools, spices, cords, napkins, medicine boxes, and cleaning extras can slide behind larger items or sink under stacks. Pull-out bins solve this by turning a deep shelf into a removable drawer. Instead of reaching into the dark back corner, you pull the whole category forward.
Choose bins that are easy to grab and not too tall for the shelf opening. Clear bins are useful when the contents are varied. Solid bins can look calmer when the shelf is visible from a hallway or living area, but they need labels. Handles help on higher or deeper shelves, especially when the bin is heavier.
Test the bin with one hand before committing to it. If it bends, catches on the shelf lip, or needs both hands every time, it may become another obstacle instead of a storage solution.
Good categories for pull-out bins include:
- Extra toiletries such as soap, toothpaste, razors, and shampoo.
- Craft supplies such as glue, tape, markers, yarn, or paper.
- Pantry overflow such as packets, cans, snacks, or baking extras.
- Cleaning refills such as sponges, cloths, sprays, and trash bags.
- Small household supplies such as batteries, bulbs, cords, and tape.
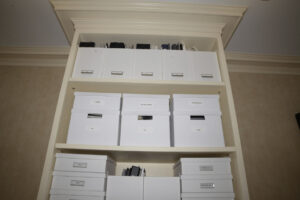
Label deep shelves so the back row is clear
Labels matter more on deep shelves than on shallow shelves because part of the storage is not visible at a glance. A label on the front bin helps everyone return items to the right place. A label on a back bin prevents the shelf from becoming a mystery zone. If the back row holds guest sheets, holiday candles, or extra paper goods, the label should say that clearly.
Labels do not have to be decorative. Painter’s tape, a basic sticker, a paper label, or a written tag can work. The wording should match how the household thinks. “Cold medicine” may be clearer than “health.” “School snacks” may be clearer than “food.” “Guest towels” may be clearer than “linens.”
When several people use the shelf, label the action too. A bin labeled “extra soap and shampoo” tells someone what belongs there. A bin labeled only “bathroom” may become a catchall. Deep shelves need labels that stop decisions from being remade every time the door opens.
Place the label where it can be read without pulling the bin all the way out. On a high shelf, that may mean the label sits low on the front edge. On a low shelf, it may need to face upward slightly.
A deep shelf stays organized when the hidden items are named, not just stored.
Add risers only when they improve shelf visibility
Stacking can help or hurt. Shelf risers, short platforms, and sturdy boxes can lift back-row items so they are easier to see. That works well for pantry jars, folded linens, small bins, mugs, or supplies with labels on the front. But stacking becomes a problem when the bottom item cannot be removed without unloading everything above it.
Use risers when the shelf is tall enough and the items are light enough to reach safely. Put short items in front and taller items behind when possible. For pantry shelves, this can make cans, jars, and boxes easier to scan. For linen shelves, a lower front stack and a higher back stack can keep folded items visible.
Avoid stacking heavy boxes high on deep shelves. Heavy items should sit lower and closer to the front, where they can be lifted without stretching. Deep shelves invite overfilling, but a shelf that is hard to unload will not stay useful. The point is to improve access, not pack every cubic inch.
If a riser makes the shelf look neat but forces awkward reaching, skip it. A simple pull-out bin may solve the problem more safely.
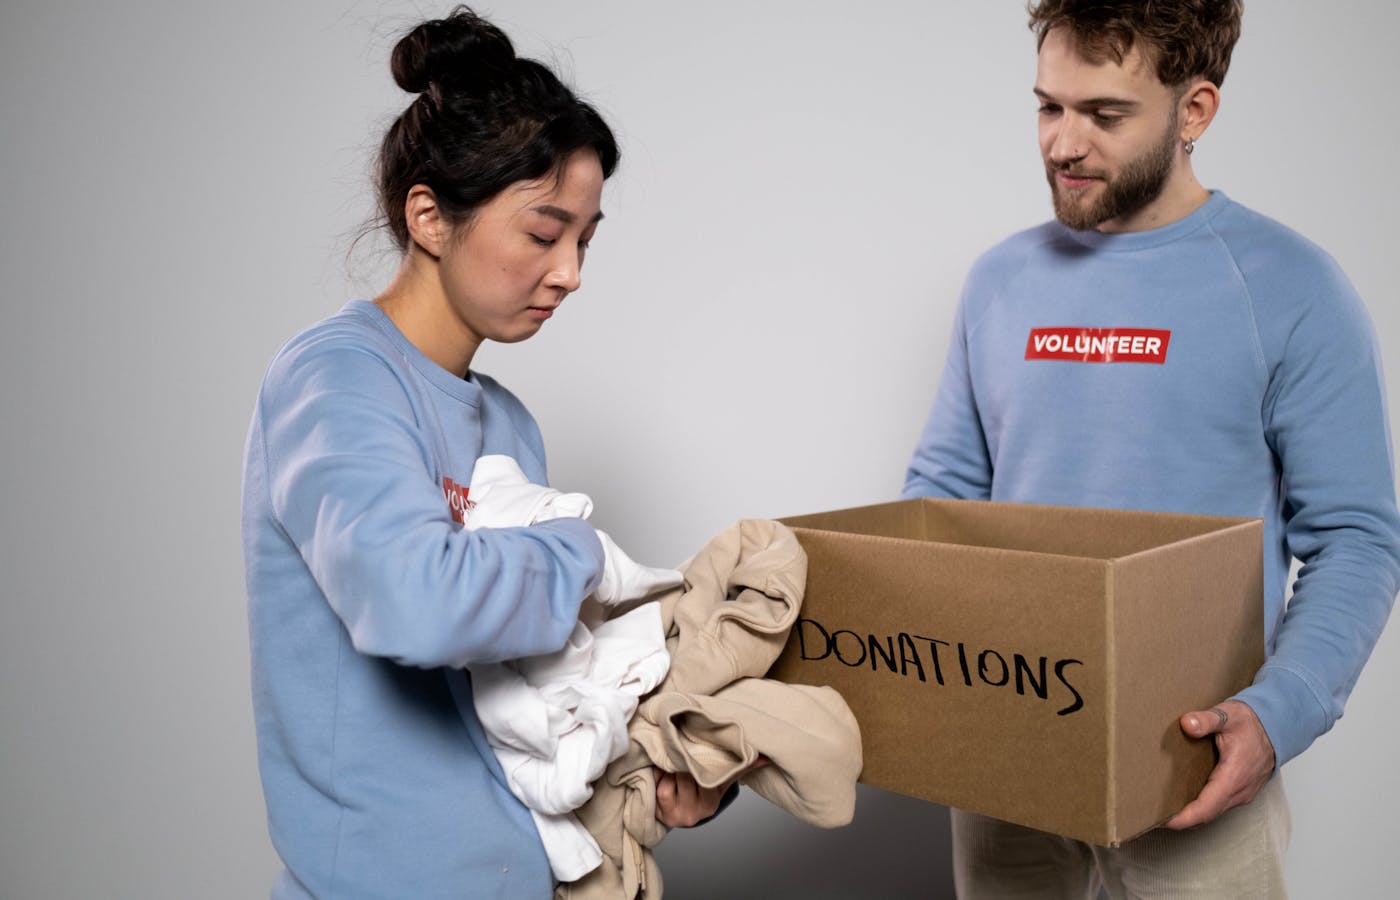
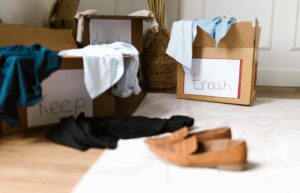
Set limits so duplicate items do not get lost
Deep shelves often become overflow zones because there is room to hide extras. That can be useful for backup supplies, but only if there is a limit. Without a limit, the shelf may collect four packs of napkins, three half-used candles, duplicate cleaning sprays, old linens, and supplies bought because the first set could not be found.
Choose a maximum for each backup category. For example, one back-row bin for extra toiletries, one bin for paper goods, one basket for cords, or one lidded box for seasonal decor. When the bin is full, use what is there before buying more. This turns the shelf into a storage system instead of a silent shopping list.
Useful limits include:
- One bin for unopened toiletries.
- One shelf section for guest linens or seasonal bedding.
- One container for cords, chargers, and small electronics.
- One back-row area for holiday or seasonal items.
- One basket for cleaning refills that are safe to store together.
Limits also make restocking easier. You can see when the bin is low, and you can see when buying more would create clutter.
Reset deep shelves on a simple schedule
Deep shelves need a reset because even good systems drift. Items get returned to the wrong bin, front rows become crowded, and back-row supplies outlive their usefulness. A short reset every month or season is better than waiting until the shelf becomes frustrating again.
Use this routine:
- Pull out the front bins and check what has migrated into them.
- Look at the back row and remove anything expired, empty, broken, or no longer useful.
- Return weekly items to the easiest front position.
- Move rarely used items into labeled back bins.
- Check whether any category has outgrown its container.
- Update labels if the wording no longer matches the contents.
- Leave a small gap so bins can slide in and out without catching.
The small gap matters. A shelf packed edge to edge may look efficient, but it usually becomes annoying to use. A little breathing room lets containers move, stacks stay straight, and people return items without forcing them into place.
Deep shelves can be useful instead of frustrating when each part has a job. Empty the shelf first, divide front and back zones, use pull-out bins for small items, label hidden storage, stack only for visibility, limit duplicates, and reset the shelf before it turns into a search zone again.