How to Dust Your Home Without Spreading Dust
Dusting can feel oddly unrewarding when the room looks hazy again an hour later. The problem is often not effort. It is the method. Dry sweeping a shelf with the wrong cloth, starting at the floor, shaking dusty fabrics in the room, or wiping around objects without moving them can send dust into the air instead of removing it.
Learning how to dust your home without spreading dust is mostly about trapping particles and working in the right order. The best routine is not dramatic. It is a calm sequence: prepare the room, use a cloth that holds dust, clean high surfaces first, handle vents and fabrics carefully, and finish with the floor.
The goal is to remove dust from the room, not relocate it to the next surface. That one standard changes which tools and habits are worth keeping.
Choose cloths that hold dust instead of pushing it around
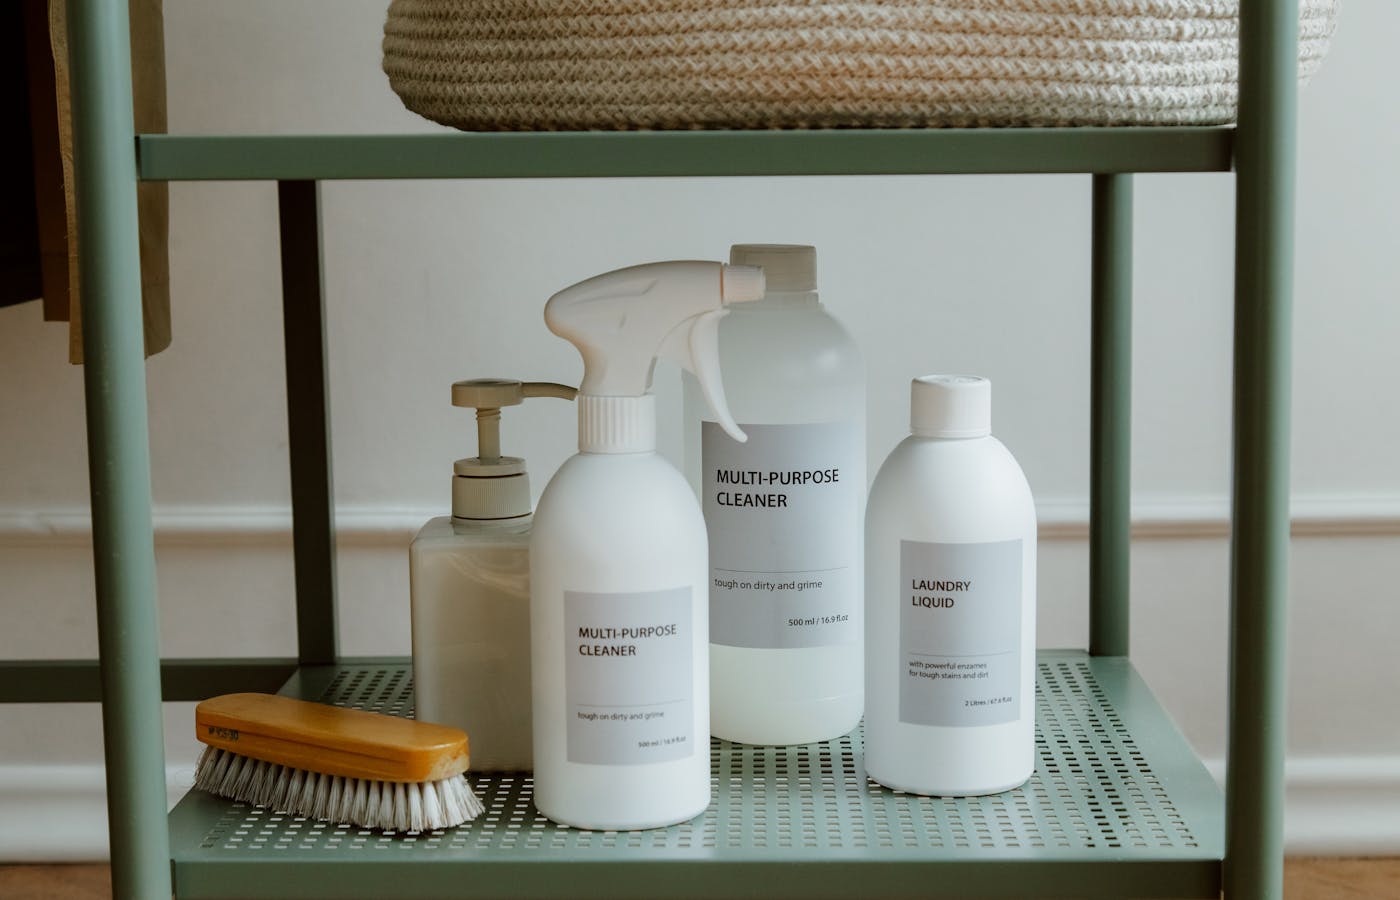
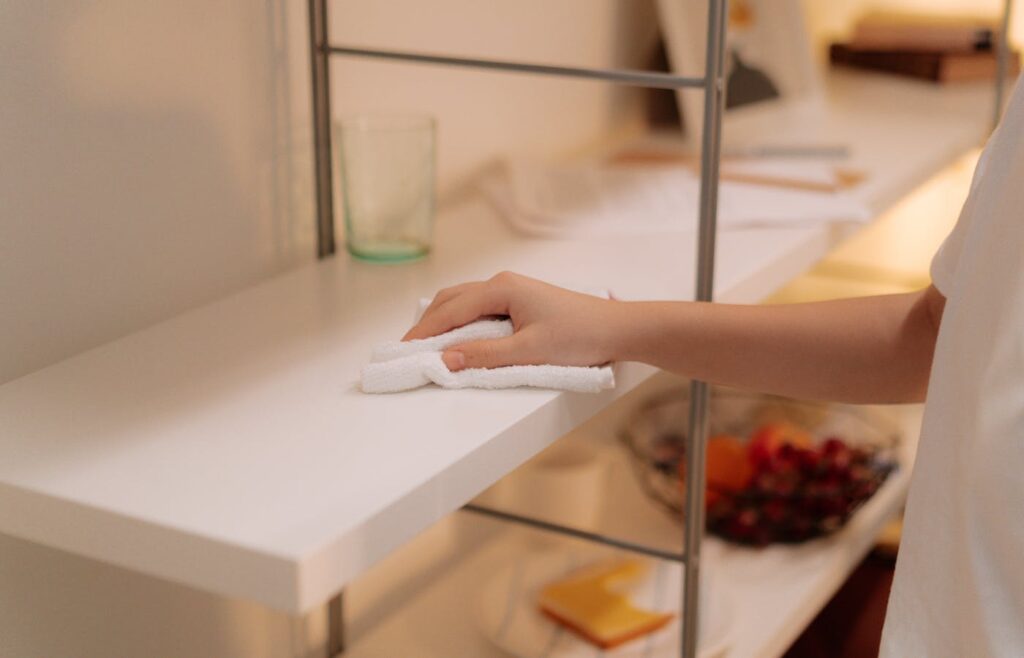
A soft microfiber cloth is usually the safest starting point because it grabs fine particles better than a loose paper towel or old dry rag. The cloth should be clean, folded, and slightly damp when the surface allows it. Damp does not mean wet. A soaked cloth can leave streaks, damage wood, or create residue on electronics and unfinished surfaces.
For delicate items, use a dry microfiber cloth or a tool made for that surface. For sturdy shelves, doors, baseboards, and many painted surfaces, a lightly damp cloth can keep dust from floating away. Feather dusters may look classic, but many of them move dust into the air unless they are specifically designed to trap it.
I like folding the cloth into quarters. When one side gets dirty, turn to a clean side instead of dragging the same dusty patch across the whole room.
Dust from top to bottom so gravity works for you
Dust falls. If you clean the coffee table first and then dust the ceiling fan, lampshade, picture frame, or high shelf, you have just undone part of the work. Start high and move down through the room. High shelves, curtain rods, light fixtures, door frames, wall decor, tables, baseboards, and floors should not be random stops; they should be a sequence.
This order matters more than speed. A slow top-to-bottom pass catches what drops and prevents the frustrating cycle of cleaning the same surface twice. It also helps you see what needs real attention. Some rooms collect dust mainly on electronics and open shelves. Others collect it on vents, fabric surfaces, or baseboards.
| Dusting method | Use it for | Watch for |
|---|---|---|
| Dry microfiber | Electronics, fragile decor, lightly dusty surfaces | Shake outside or wash after use |
| Slightly damp microfiber | Shelves, doors, baseboards, sturdy surfaces | Avoid soaking wood or painted edges |
| Vacuum brush attachment | Vents, upholstery, lampshades, textured areas | Use gentle suction on delicate fabric |
| Long-handled duster | Ceiling corners and high trim | Use one that traps dust, not just flicks it |
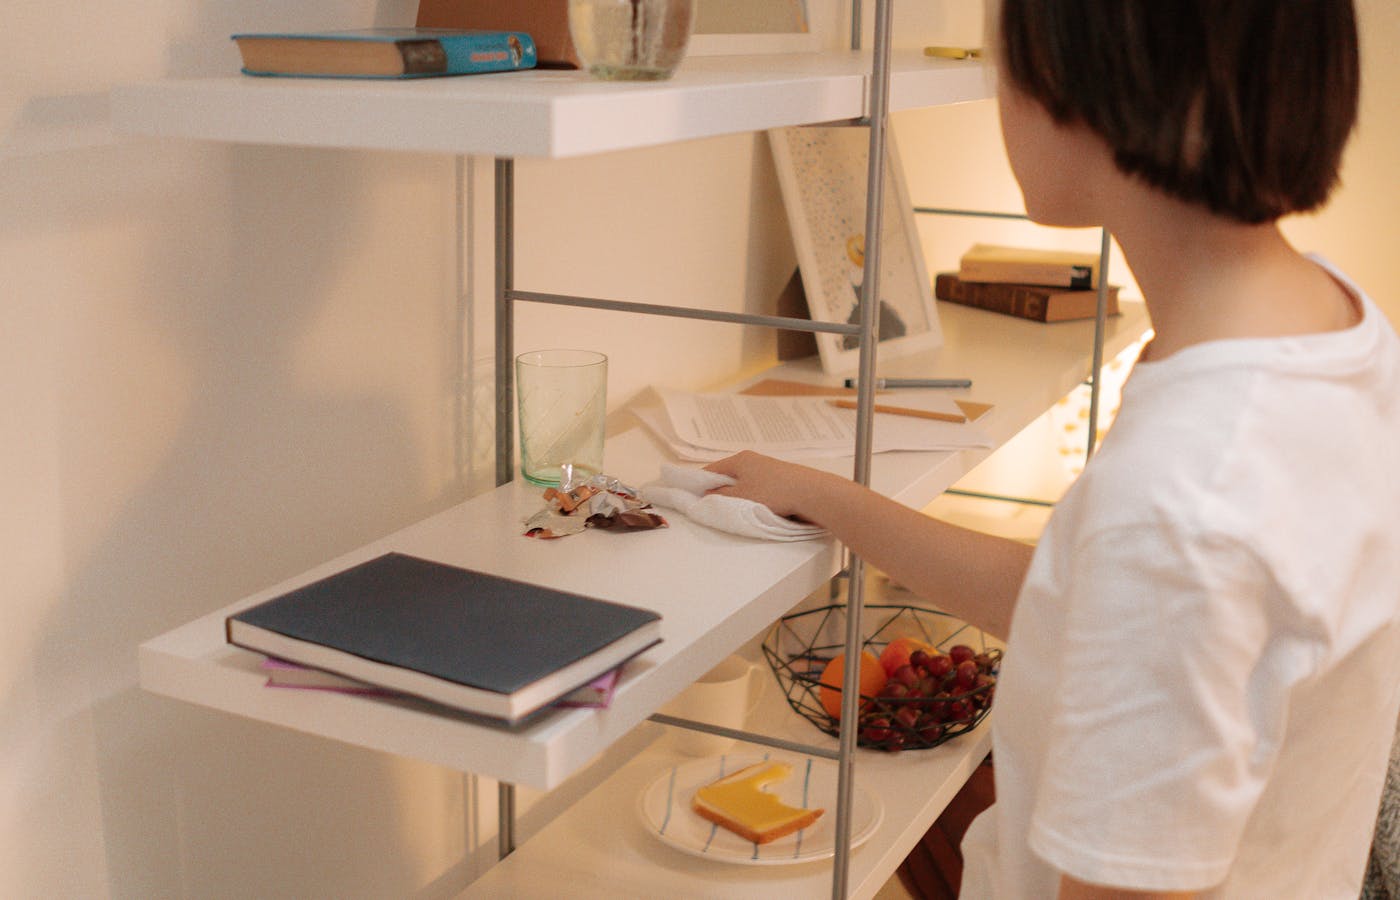
Clear and wipe shelves in small sections
Shelves are where dusting often turns into dust shuffling. If books, bowls, frames, candles, and small objects stay in place, the cloth has to snake around them and leaves dusty outlines behind. You do not need to empty the whole bookcase at once, but clearing one section gives the cloth a real surface to clean.
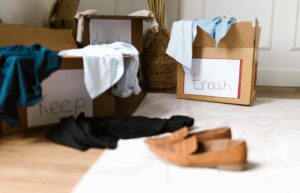
Move a few objects, wipe the shelf from back to front, clean or tap dust from the objects if needed, then return only what belongs there. This is also a good moment to remove old papers, dead leaves from plants, empty packaging, or items that make the shelf harder to maintain.
A shelf that has fewer awkward objects is easier to dust well next time.
Handle electronics, vents, and blinds without stirring dust
Electronics attract dust and need a lighter hand. Turn devices off when appropriate, use a dry microfiber cloth, and avoid spraying cleaner directly onto screens, keyboards, speakers, or remote controls. Dust around buttons and small openings gently instead of forcing moisture into them. Baseboards show bad dusting order quickly, so cleaning baseboards without bending too much fits best after higher surfaces have already been handled.
Vents and blinds can release a surprising amount of dust into the room. Use a vacuum brush attachment first when dust is heavy. Then wipe slats or vent covers with a cloth that traps residue. If you start by sweeping a dusty vent with a dry rag, the room may feel dustier immediately.
- Dust screens with a dry microfiber cloth.
- Vacuum dusty vents before wiping them.
- Close blinds one way, wipe, then reverse and wipe again.
- Keep spray cleaners away from device openings.
- Wash or replace HVAC filters on the schedule your system needs.
Control fabric dust before it settles back on surfaces
Fabric holds dust quietly. Curtains, throw blankets, pillows, lampshades, upholstered chairs, and rugs can release particles every time they are moved. If the room gets dusty again quickly, fabrics may be part of the reason. Vacuum upholstery and lampshades with a brush attachment, launder washable throws, and shake small rugs outside instead of inside the room.
Do not beat pillows or blankets indoors and then immediately dust the furniture. That sends particles into the air and lets them land on the surfaces you just cleaned. Handle fabrics first when they need attention, give the air a few minutes to settle, and then wipe hard surfaces from high to low.
If allergies are a concern, keep the routine gentler. A mask, slower vacuuming, and opening windows only when outdoor pollen is low may help more than aggressive dusting that sends particles flying.
Finish with the floor after dust has settled
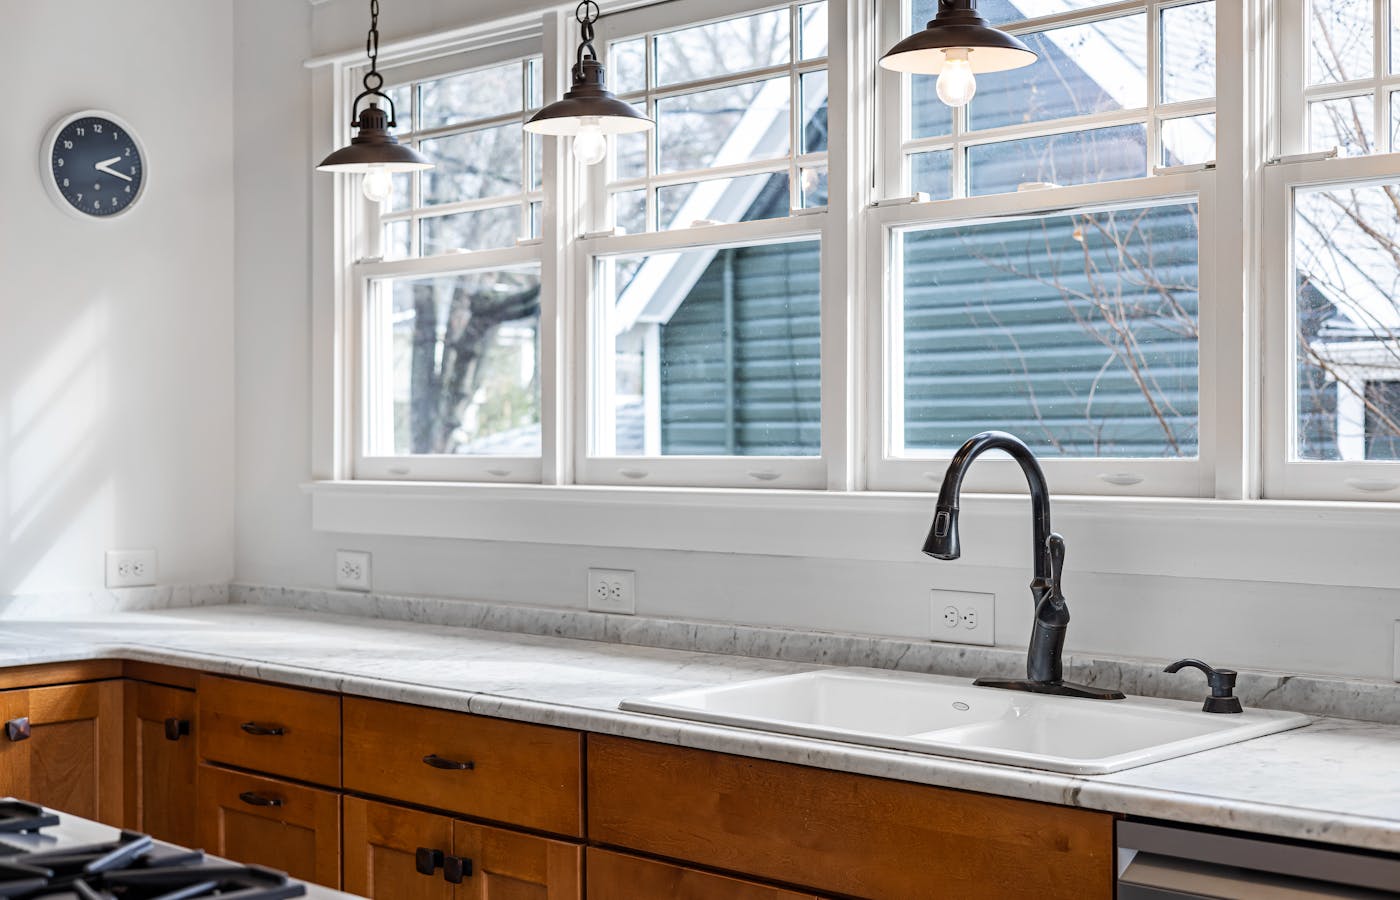
The floor should usually come near the end because it catches what falls from shelves, furniture, fabrics, and baseboards. Vacuum first if there is visible dust, pet hair, crumbs, or grit. Use the right setting for the floor type, and move slowly enough for the vacuum to pick up debris instead of scattering it. On hard floors, a microfiber mop can catch the fine layer that sweeping sometimes leaves behind.
Baseboards deserve a quick look before the final floor pass. Dust can gather along edges and corners, then drift back into the room. A lightly damp cloth or vacuum brush can handle most baseboards without turning them into a separate project.
Use this room order:
- Pick up clutter that blocks surfaces.
- Dust ceiling corners, high shelves, frames, and lamps.
- Clear and wipe shelves in sections.
- Handle electronics, vents, blinds, and fabrics.
- Wipe lower furniture and baseboards.
- Vacuum or mop the floor last.
Keep dust lower with small repeatable habits
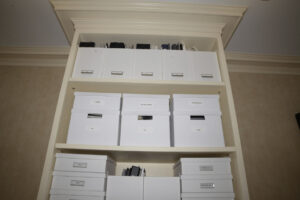
Dusting works better when the home has fewer dust traps and a repeatable rhythm. Open shelves packed edge to edge are harder to clean than shelves with breathing room. Fabric piles, paper stacks, and unused decor all create surfaces where dust can settle. You do not need a bare home, but you do need enough access to clean the surfaces you own.
Frequency depends on the home. Pets, open windows, nearby roads, dry weather, HVAC use, and lots of fabric can all increase dust. Instead of waiting until every surface looks gray, pick a simple rotation: main living surfaces weekly, high shelves monthly, vents and baseboards when you notice buildup.
- Keep one clean microfiber cloth where dust is most visible.
- Wash dusting cloths separately from lint-heavy laundry.
- Reduce paper piles and unused decor on open surfaces.
- Change or clean filters before vents become dusty.
- Use entry mats to reduce dirt that becomes indoor dust.
Dusting your home without spreading dust is a matter of trapping, sequencing, and finishing properly. Use cloths that hold particles, work from high to low, clear shelves in sections, treat vents and fabrics carefully, and clean the floor last. The room will not stay dust-free forever, but it should feel cleaner because the dust actually left instead of simply moving around.