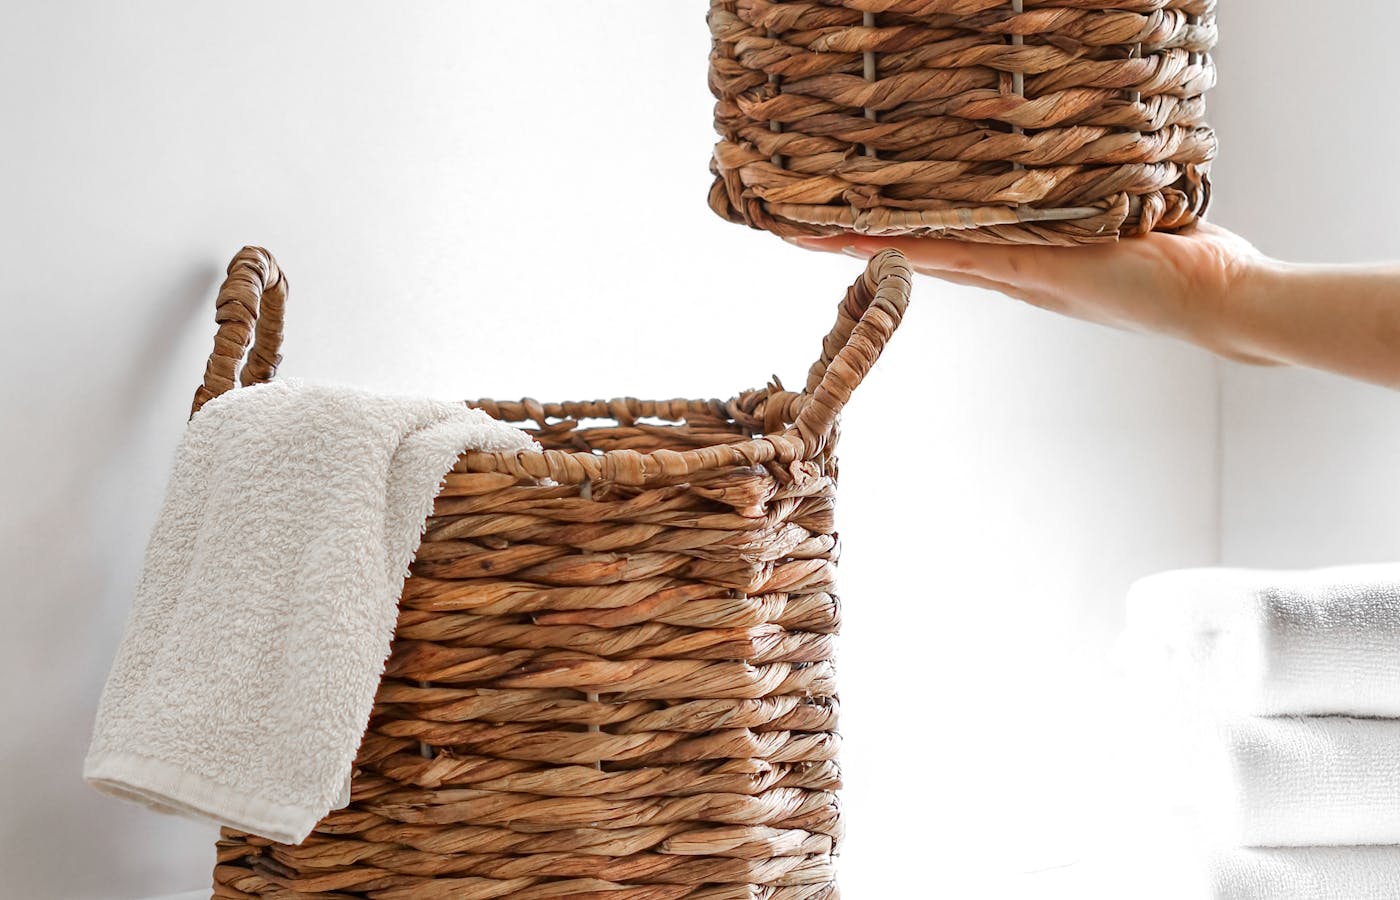
Storage Ideas for Craft Supplies in Small Spaces
Published Updated

By Silas Payao
I write practical cleaning and organization guides focused on simple routines, realistic storage ideas, and calmer home systems.
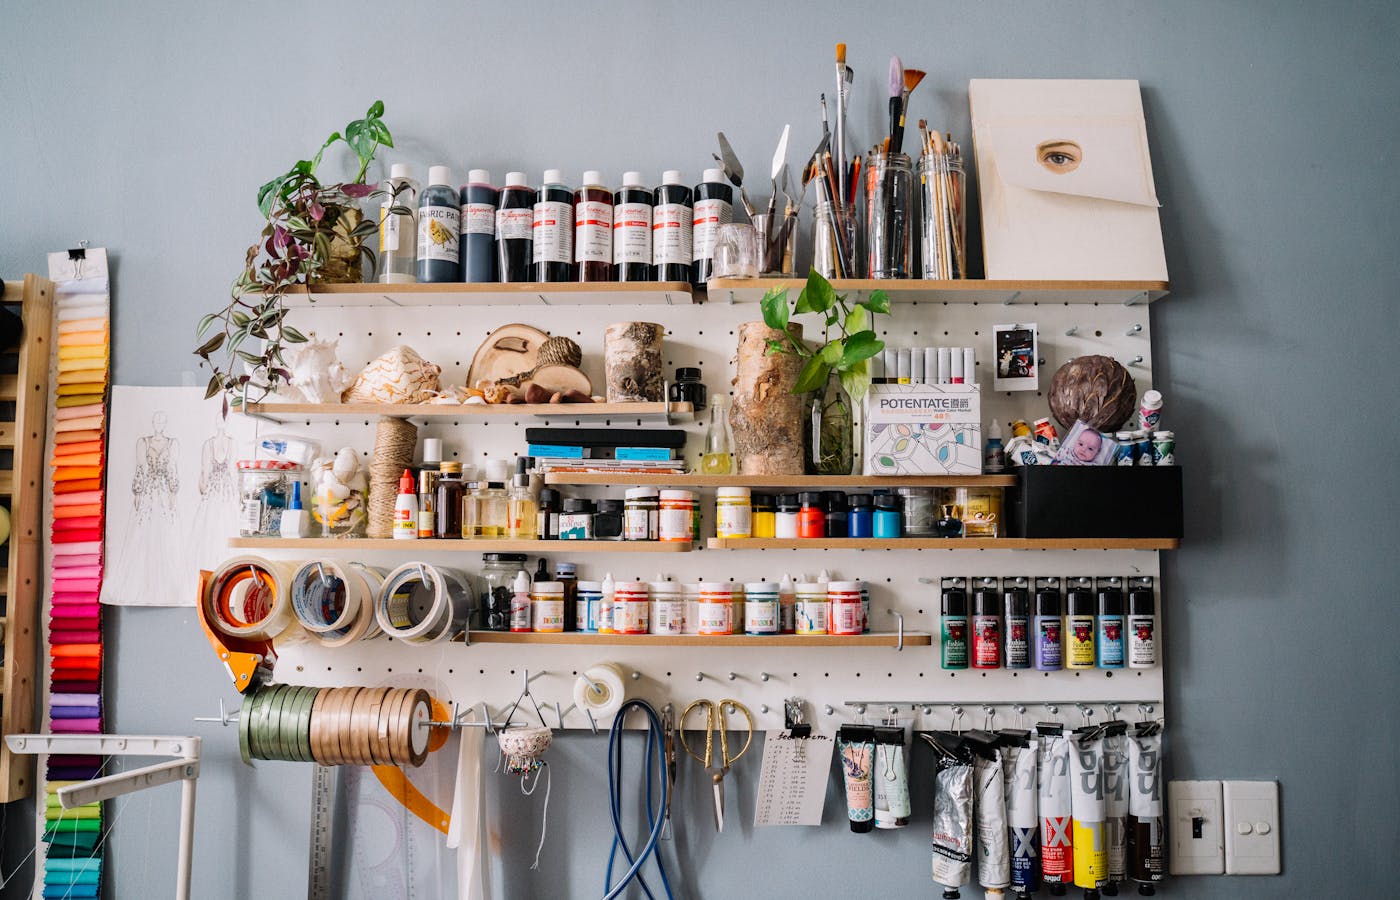
Craft supplies can take over a small space faster than many household categories because they come in awkward shapes. Paper needs to stay flat, paint needs to stand upright, fabric softens into piles, beads scatter, tools disappear, and half-finished projects need a place to pause.
The safest storage plan also respects the materials. Sharp blades, hot glue tools, small beads, solvents, and paints need secured, age-appropriate storage separate from children's everyday paper and yarn. A good craft setup keeps the active project easy to reach while putting risky or messy supplies behind a clear boundary.
Storage ideas for craft supplies in small spaces work best when they protect creativity instead of hiding everything away. The goal is not to build a perfect studio. The goal is to make supplies easy to find, easy to put back, and safe enough to store in a bedroom, closet, dining corner, or shared room.
Start by noticing how you actually craft. Someone who paints needs different storage than someone who sews, wraps gifts, builds models, journals, or makes jewelry.
Start craft supply storage with active and backup zones
The first small-space decision is separating active supplies from backup supplies. Active supplies are the items you reach for during a normal project: favorite scissors, glue, markers, brushes, current yarn, paper trimmer, tape, or the fabric for this week. Backup supplies are extras, refills, seasonal colors, rarely used tools, and materials waiting for a future idea.
Keep active supplies closest to the work surface, even if that work surface is a dining table that gets cleared after each session. Backup supplies can move higher, lower, deeper in a closet, or into labeled bins. This split prevents every craft item from competing for the same reachable shelf.
A small space becomes easier when the best storage spots are earned by use. If a tool has not been touched for months, it does not need the front row. If a glue stick is used every session, it deserves a container you can grab without digging.
Use a tray, small bin, or shallow basket for the active set. When the project ends, the active zone moves as one group instead of scattering across the room.
Choose craft containers by material, not just size
Craft supply containers should match what they hold. Tiny beads need divided boxes. Paper needs flat storage. Paint bottles need upright bins or shelves. Ribbon works well on rods, spools, or shallow drawers. Fabric can fold into cubes, but small scraps may need clear bags or bins by color.
Do not buy one large bin for every craft item. A deep mixed bin usually becomes a supply graveyard because the small items sink and the fragile items bend. Smaller containers by material make it easier to pull out one category and return it without rebuilding the whole storage system.
| Supply type | Small-space storage | Why it helps |
|---|---|---|
| Paper | Flat box or magazine file | Prevents curling and bent corners |
| Paint | Shallow upright bin | Keeps colors visible |
| Beads | Divided case | Stops mixing and spills |
| Tools | Desk cup or handled caddy | Makes frequent tools portable |
Clear containers are helpful for small pieces, but not every container has to be clear. If visual clutter bothers you, use opaque bins with direct labels for backup stock and keep only the active set visible.
Before choosing a container, test whether you can remove one item and return it in a few seconds.
Use vertical storage without crowding the wall
Vertical storage is useful in small spaces because craft supplies often need narrow, frequent access. A shelf, peg rail, wall pocket, over-door organizer, or small bookcase can turn unused height into a supply zone. The trick is keeping categories readable from a standing position.
A wall packed with every supply can feel busy and become hard to maintain. Use vertical space for the items that benefit from visibility: scissors, tape, brushes, rulers, thread, markers, ribbon, or paint. Store bulky extras and rarely used supplies in closed bins elsewhere.
Good vertical craft storage should still leave room for your hands. If you must move three hooks to reach one tool, the wall is too crowded. If a shelf looks beautiful but you cannot remove a bin without knocking over bottles, it needs fewer categories.
Useful vertical options include:
- A narrow shelf above a desk for paints, jars, and small boxes.
- A pegboard or rail for scissors, rulers, tape, and handled tools.
- An over-door organizer for yarn, vinyl rolls, fabric bundles, or gift wrap.
- Magazine files for paper, sticker sheets, cutting mats, and patterns.
- Small labeled boxes for beads, buttons, thread, and hardware.
Make portable storage for shared rooms
Many small-space crafters do not have a dedicated craft room. Supplies may live in a closet, then move to a kitchen table, desk, or floor area during a project. Portable storage keeps the setup from becoming a full-room takeover every time creativity starts.
A handled caddy works well for tools used across many projects. A lidded project box works well for one unfinished craft. A rolling cart can hold the active categories if it has a parking spot when not in use. The storage should support both making and cleanup.
For shared spaces, keep the current project separate from the full supply collection. That one decision makes it easier to clear the table before dinner, protect fragile work, and avoid losing small pieces in the general household flow.
Label the portable piece by project when needed: birthday cards, quilt squares, school poster, jewelry repair, watercolor practice. A project name is more useful than a vague label like miscellaneous.
For very small homes, one project box per active craft is usually easier than one large supply bin that has to be unpacked every time.
Protect delicate supplies from damage and mess
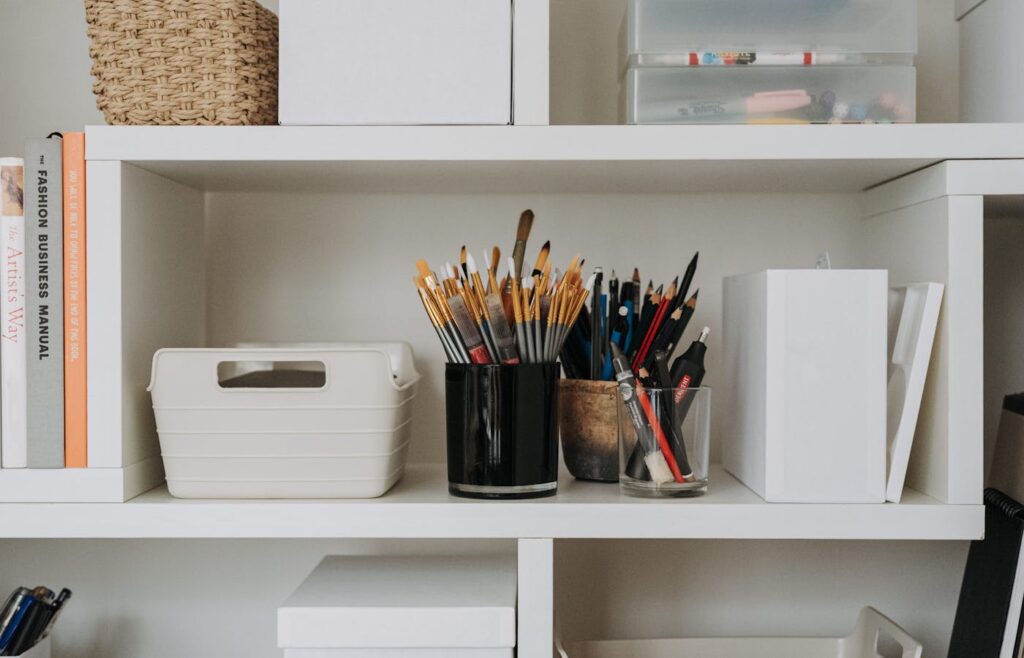
Craft supplies are not all stored the same way because some are fragile, wet, sticky, sharp, or sensitive to light. Markers can dry out, paper can warp, yarn can collect dust, glue can leak, blades can be unsafe, and paint can ruin nearby fabric if it tips over.
Store liquids upright and preferably inside a tray or bin that can catch a small spill. Keep sharp tools in their protective covers or a suitable secured container, following the maker's storage instructions. Protect paper and stickers from moisture. Keep fabric and yarn away from dust if they will sit for a while.
Safety matters in shared homes too. If children, pets, or guests use the same room, secure blades, strong glue, paint, solvents, tiny beads, and needles so children and pets cannot access them. Height or an ordinary latch alone is not a reliable safety plan. Easy access should belong to safe supplies, not every supply.
Review labels on anything wet, sharp, or dusty before deciding where it belongs. Keep chemical products in their original labeled containers and follow their storage and ventilation requirements. Unplug heated tools and let them cool as directed before returning them to storage. A bedroom shelf is not suitable for every craft material. A small apartment or bedroom corner needs storage that keeps materials contained, not just hidden. Health Canada craft-material guidance covers original labels, manufacturer storage instructions, child and pet access, and local hazardous-waste disposal.
Keep craft supply storage easy to reset
A craft storage system should survive a normal project day. If cleanup requires perfect sorting, it will fail when you are tired. Build a reset habit that returns supplies to broad categories first, then handles tiny details later if needed.
Use this simple reset order:
- Return sharp tools to their safe container.
- Close paint, glue, ink, and marker caps.
- Put the active project into one tray or box.
- Sort loose supplies into broad bins by material.
- Throw away scraps that are too small to use.
- Restock the active caddy before the next session.
Small-space storage also needs occasional editing. If a bin is full of supplies for hobbies you no longer enjoy, it is taking space from the craft you actually do. Keep a donation box for unused duplicates, abandoned materials, and tools that no longer match your projects.
- Keep daily tools in one portable caddy.
- Store backup supplies by material instead of by wishful project.
- Use vertical space for accessible, lightweight items, within the organizer's installation and load limits.
- Protect liquids, blades, paper, and fabric from damage.
- Reset the active project before sorting every tiny piece.

Keep this guide handy
An illustrated summary made for JundHaus. Read the guide above for the details and cautions.
Save to Pinterest (opens in a new tab)