How to Deep Clean Your House Room by Room
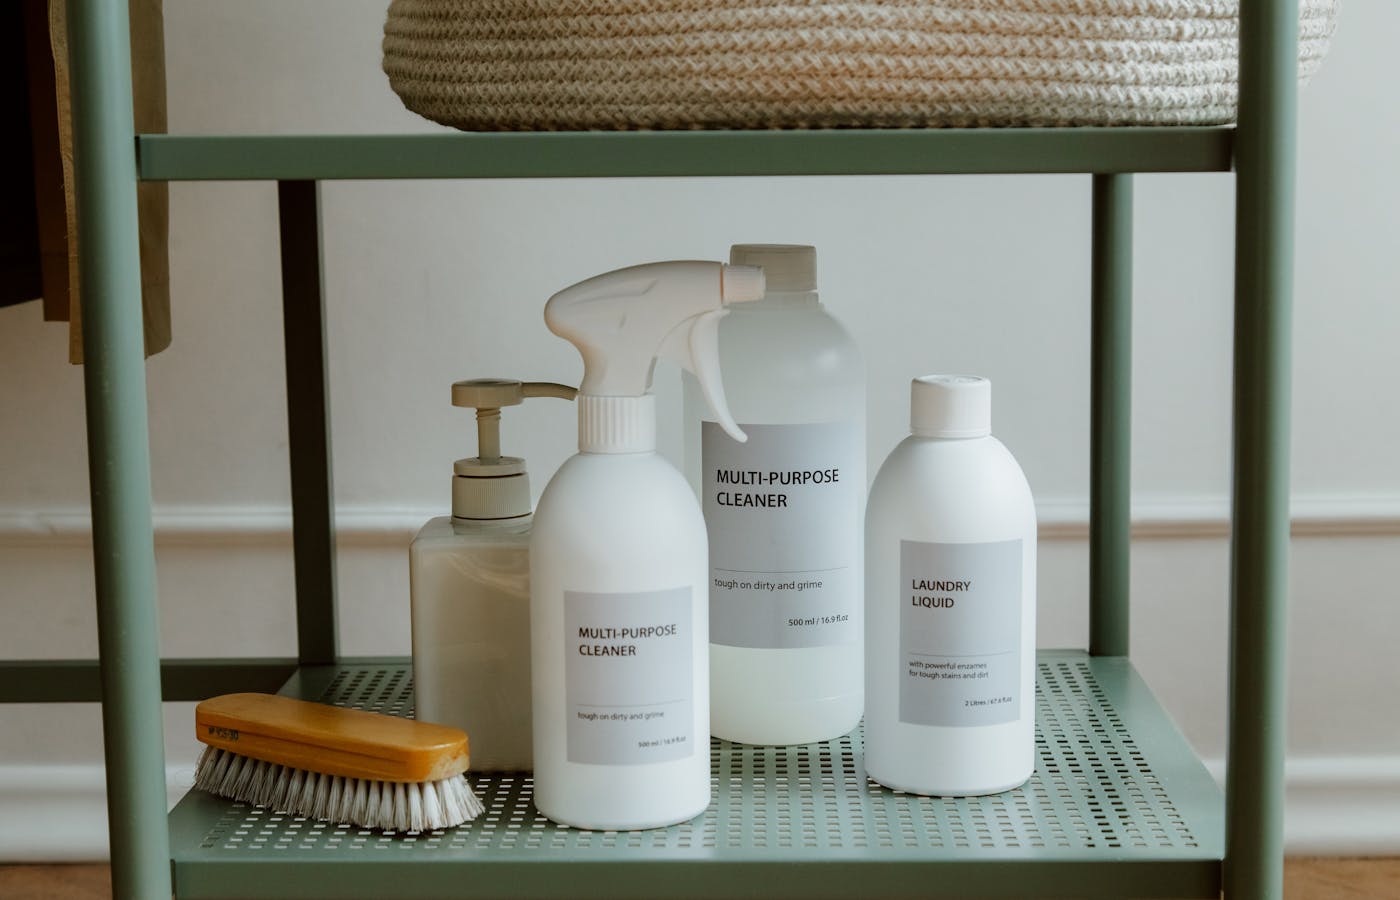
Most homes feel easier to clean when the work has a route instead of a burst of energy. If you clean the bathroom, then carry dusty laundry through the hallway, then shake crumbs onto a kitchen floor you already mopped, the house may look busier than when you began. Before starting, gather the bottles, cloths, gloves, and brushes you will actually use; a clear under-sink storage setup makes that first step faster and keeps supplies from drifting around the house.
This guide keeps the work practical: what to remove first, which surfaces deserve attention, where to use stronger caution, and how to decide when a room is clean enough for a normal home. The goal is not a showroom reset. The goal is a house that feels clearer, smells fresher, and does not require you to redo the same job twice.
Start with supplies, laundry, trash, and anything that blocks movement
Before choosing a room, gather the items that stop the cleaning rhythm: trash bags, microfiber cloths, a scrub sponge, a broom, mop, vacuum, toilet brush, all-purpose cleaner, glass cleaner, gloves, and a small caddy or basket. If products are scattered in three cabinets, the job becomes a search project. Put the basics in one place and keep specialty products nearby only for rooms that need them.
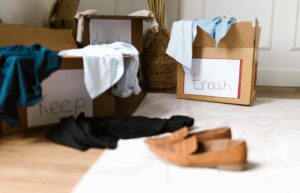
Do one fast pass for laundry, dishes, trash, and obvious clutter. This is not the decluttering session; it is just clearing the runway. Empty bins, collect cups, move shoes to the entry, and put loose papers into one temporary tray. Do not start scrubbing around piles. You will miss edges, create wet spots under objects, and feel as if each room is fighting back.
I also like to open a window when weather allows and set a simple direction: high to low, dry to wet, clean rooms before dirty rooms. Dust shelves before floors. Vacuum before mopping. Leave toilets, greasy stovetops, and muddy entryways for the point where you are ready to wash tools or swap cloths. That tiny order saves more energy than most cleaning tricks.
| Before cleaning | Why it matters |
|---|---|
| Collect trash | Stops you from wiping around disposable clutter |
| Move laundry | Clears bedrooms, bathrooms, and hallway corners |
| Load dishes | Opens counter and sink space for kitchen cleaning |
| Group supplies | Prevents walking back and forth for every task |
Handle bedrooms and living areas while dust is still dry
Bedrooms and living rooms usually respond well to dry work first. Strip beds if linens are part of the plan, then dust headboards, nightstands, shelves, picture frames, lamps, TV stands, and baseboards. Use one cloth for cleaner surfaces and a separate cloth for dirtier edges. If you use the same damp cloth everywhere, dust turns into streaks and settles into corners.
Work from the top of each room down to the floor. Shake small rugs outside if practical, vacuum upholstered furniture, and check under cushions for crumbs, hair ties, wrappers, or small toys. These rooms often feel messy because of visual noise: extra blankets, cords, remotes, magazines, and half-used items without a home. Put those into categories before you polish anything. It is faster to clean a visible surface than to clean around five undecided objects.
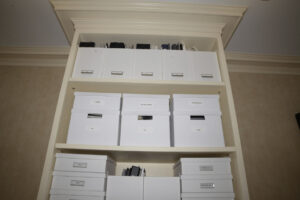
A useful limit: if an item belongs in another room, move it once. If you are not sure where it belongs, place it in a decision basket and keep cleaning. Deep cleaning loses momentum when every object turns into a personal debate. Finish the surfaces, vacuum the floor edges, and leave the decision basket for the end of the day. Glass is another detail that changes how clean a room feels, so save streak-free window cleaning for the final pass after dust and moisture have settled.
Clean bathrooms with separate tools and a clear safety boundary
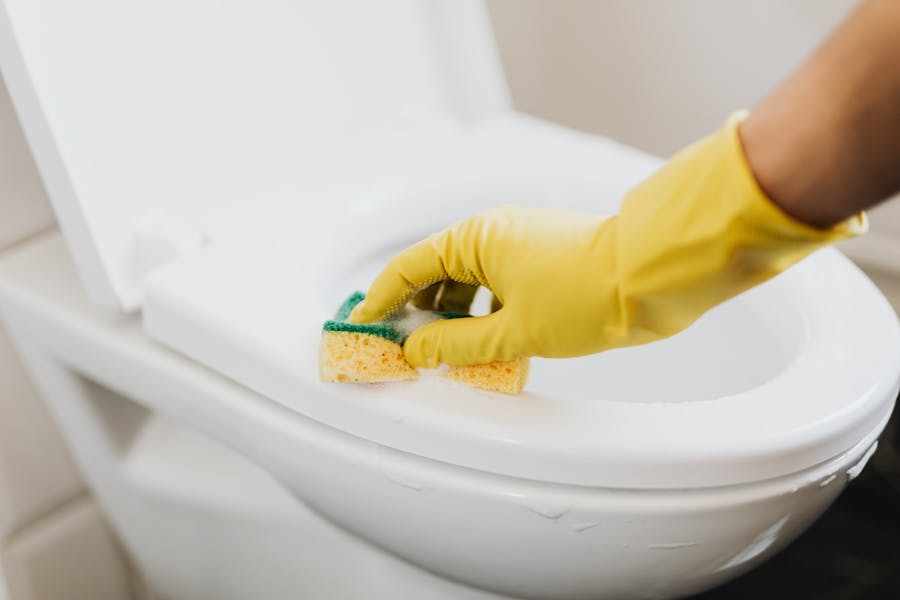
Bathrooms need a different mindset because moisture, residue, and hygiene overlap. Spray shower walls, tubs, sinks, and toilet surfaces according to the cleaner label, then give the product time to work. Wiping immediately often means you are doing the chemical’s job with your arm. Keep toilet cloths or paper towels separate from sink and mirror cloths, and change gloves or wash hands before moving to another room.
Scrub the toilet bowl, rim, seat hinges, base, and the floor around the toilet. The hinge area and the curve where the toilet meets the floor are easy to skip, but they hold odor. For sinks, check the faucet base, drain ring, soap dish, toothbrush cup, and cabinet handle. Mirrors should be last in the bathroom, after sprays and steam are finished, or you may polish them twice.
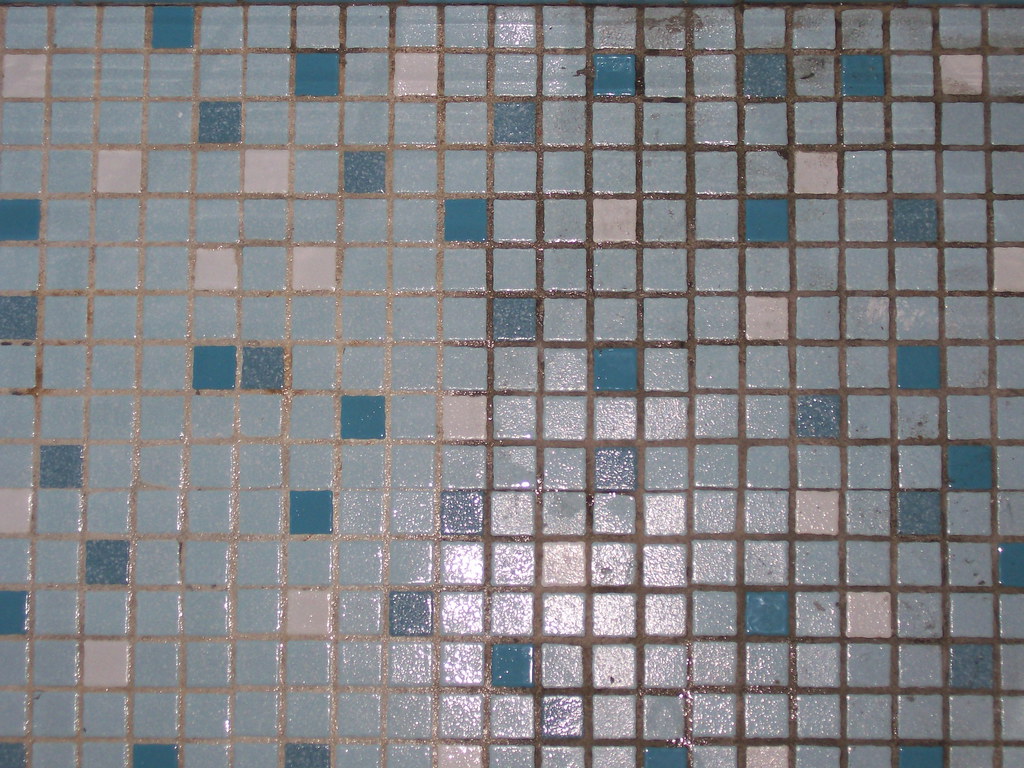
Ventilation matters. Run the fan, open a window if possible, and never mix bleach with ammonia, vinegar, or other cleaners. A deep clean should not create a breathing problem. If grout, caulk, or the shower curtain has dark staining that does not lift with ordinary cleaning, treat it as a maintenance issue rather than a scrubbing failure. Sometimes the right answer is replacement, not more force. In rooms where edge dust keeps coming back, a baseboard-cleaning routine can remove one of the most common detail chores.
Give the kitchen its own reset instead of treating it like another surface
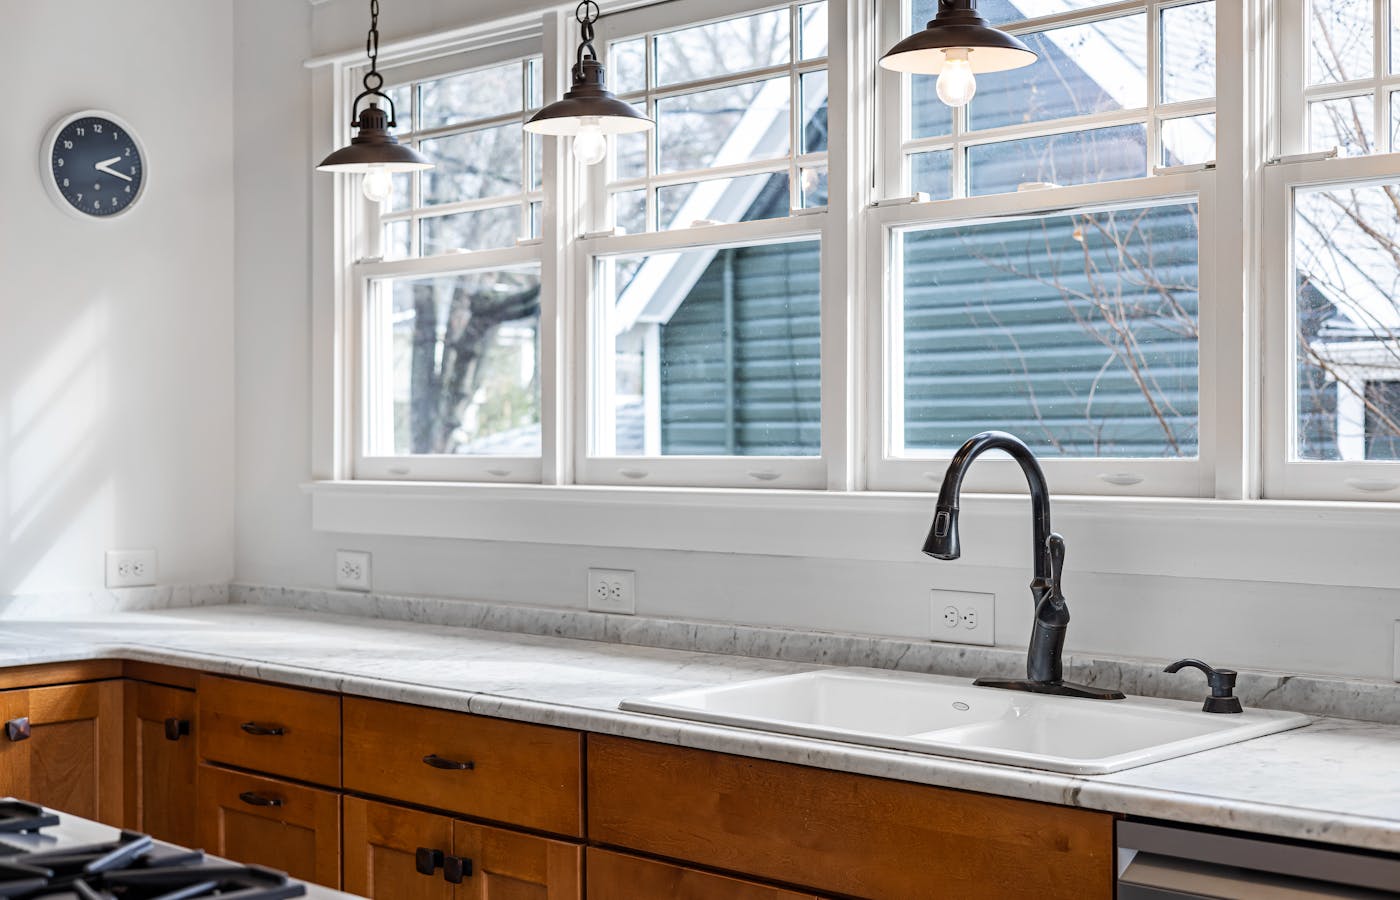
The kitchen has crumbs, grease, water spots, food safety concerns, and appliances, so it deserves its own pass. Start by clearing counters, loading dishes, emptying old food from the refrigerator, and wiping sticky bottle bottoms before they return to shelves. Clean the sink early, then use it as your work station for rinsing cloths and removable parts.
Move from food zones to floor zones. Wipe cabinet fronts around handles, the backsplash behind the stove, the microwave interior, the stovetop, small appliance bases, and the counter corners where crumbs collect. If the oven needs attention, decide whether it is part of today’s deep clean or a separate project. Oven cleaning can swallow the whole afternoon, and forcing it into an already full list usually lowers the quality of everything else.
For the refrigerator, remove one shelf or bin at a time instead of dismantling the whole thing at once. Wash, dry, return food, then move to the next section. Dry matters as much as clean in kitchens: wet bins, damp cutting boards, and soaked counters create new problems. Finish with the trash can lid, cabinet pulls, light switches, and the floor under the front edge of appliances.
Finish floors, entryways, and the final walk-through last
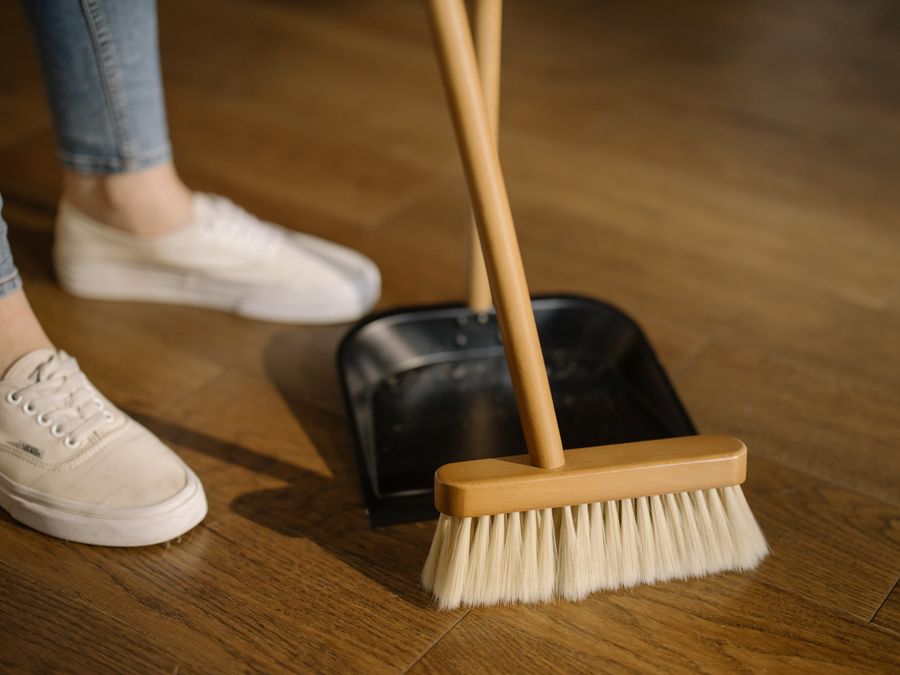
Floors should come near the end because every room sends dust and debris downward. Vacuum or sweep edges first, then open areas. Pull furniture only when it is safe and worth the effort; deep cleaning does not require dragging every heavy piece across the floor. Pay attention to entryways, hallway corners, under dining chairs, around pet bowls, and the line where baseboards meet flooring.
Mop according to the floor type. Wood and laminate usually need less water than tile. If you are unsure, use a lightly damp mop and dry any wet patches quickly. Entry mats can be shaken, vacuumed, or washed depending on the material. Shoes, bags, keys, and mail should be returned only after the surface below them is dry, otherwise the entry becomes messy again within minutes.
- Check that trash has actually left the house.
- Return cleaning products to one cabinet or caddy.
- Put wet cloths and mop heads where they can dry.
- Walk through each room with lights on and look at corners, handles, and floors.
- Check handles, switches, and corners with the lights on.
- Confirm wet tools and cloths are drying, not sitting in piles.
- Walk the main floor path without stepping over laundry, bags, or trash.
- Return supplies to one cabinet or caddy before calling the room done.
The final pass is not about perfection. It is about catching the missed handle, the wet footprint, the dusty baseboard behind the door, or the laundry basket that never made it back. When every room has a clear surface, a clean floor path, and no damp tools abandoned in corners, the deep clean has done its job.