How to Use Clear Bins Without Making Storage Look Messy
A shelf can be technically organized and still feel noisy. That happens a lot with transparent containers: everything is contained, but every label, cord, wrapper, refill bottle, and odd-shaped backup is still visible at the same time.
Clear containers work best when they are treated like display storage, not as permission to put anything anywhere. If you want to learn how to use clear bins without making storage look messy, the real work is deciding what deserves to be seen and what needs a calmer boundary.
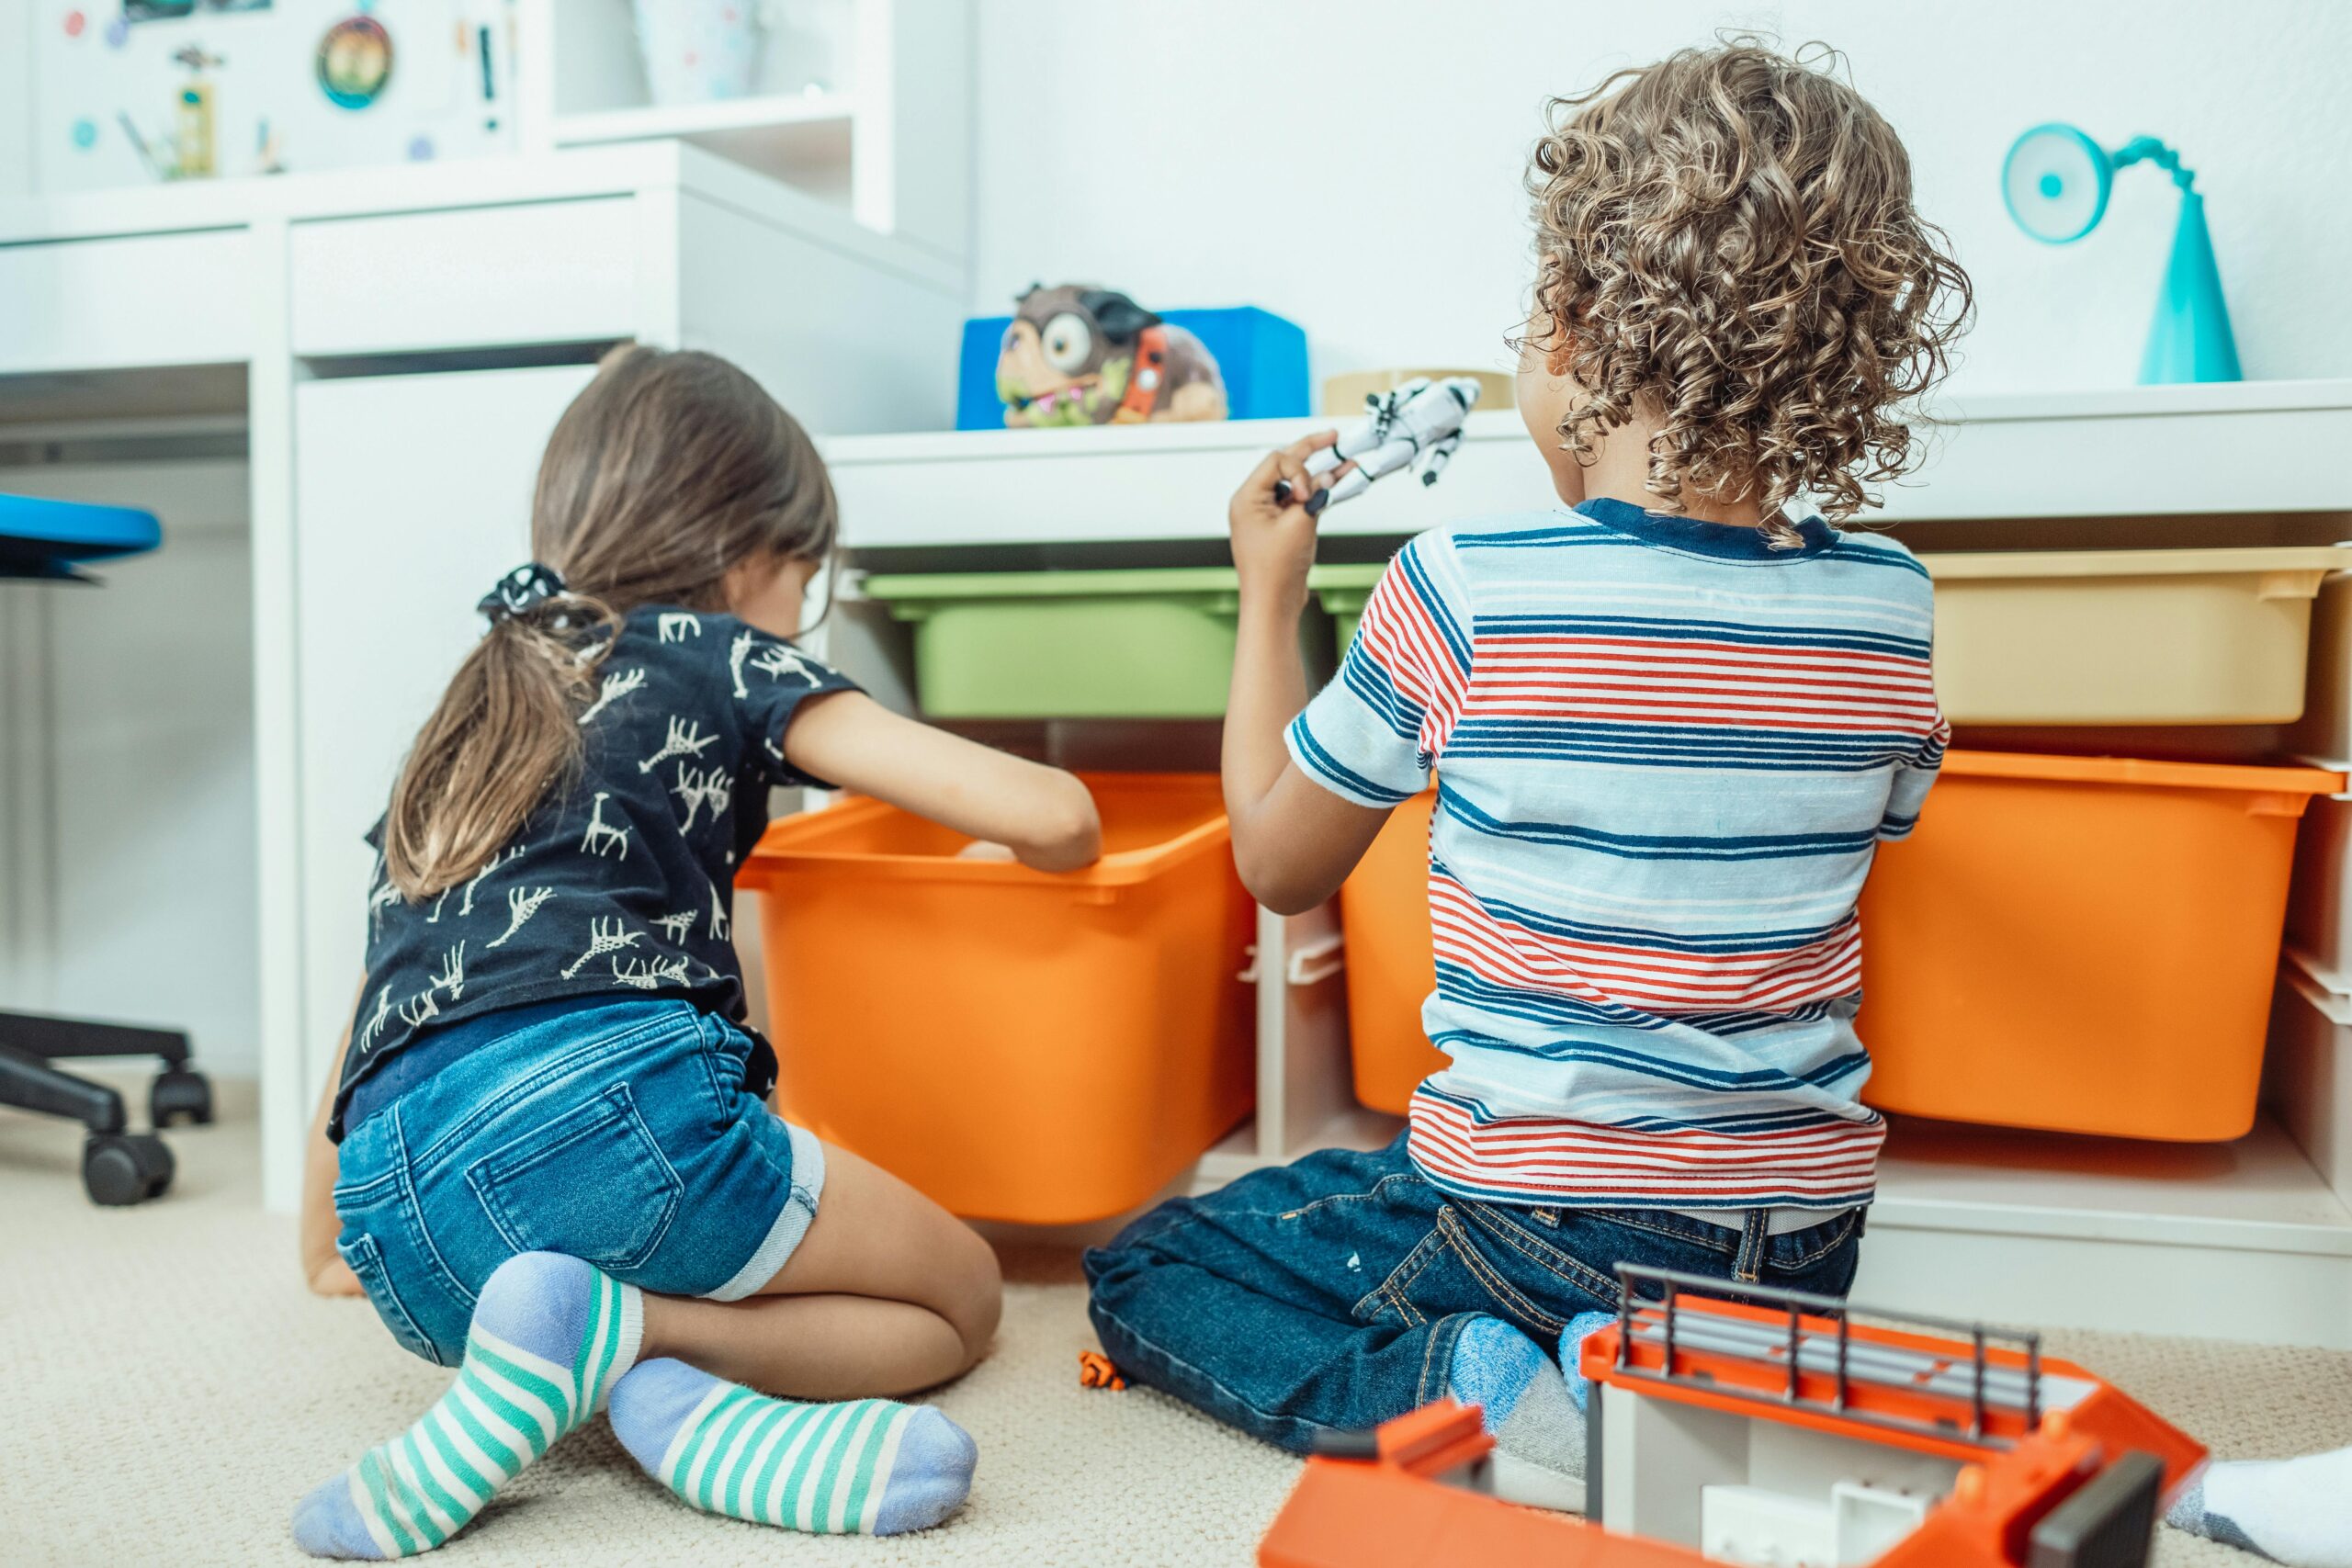
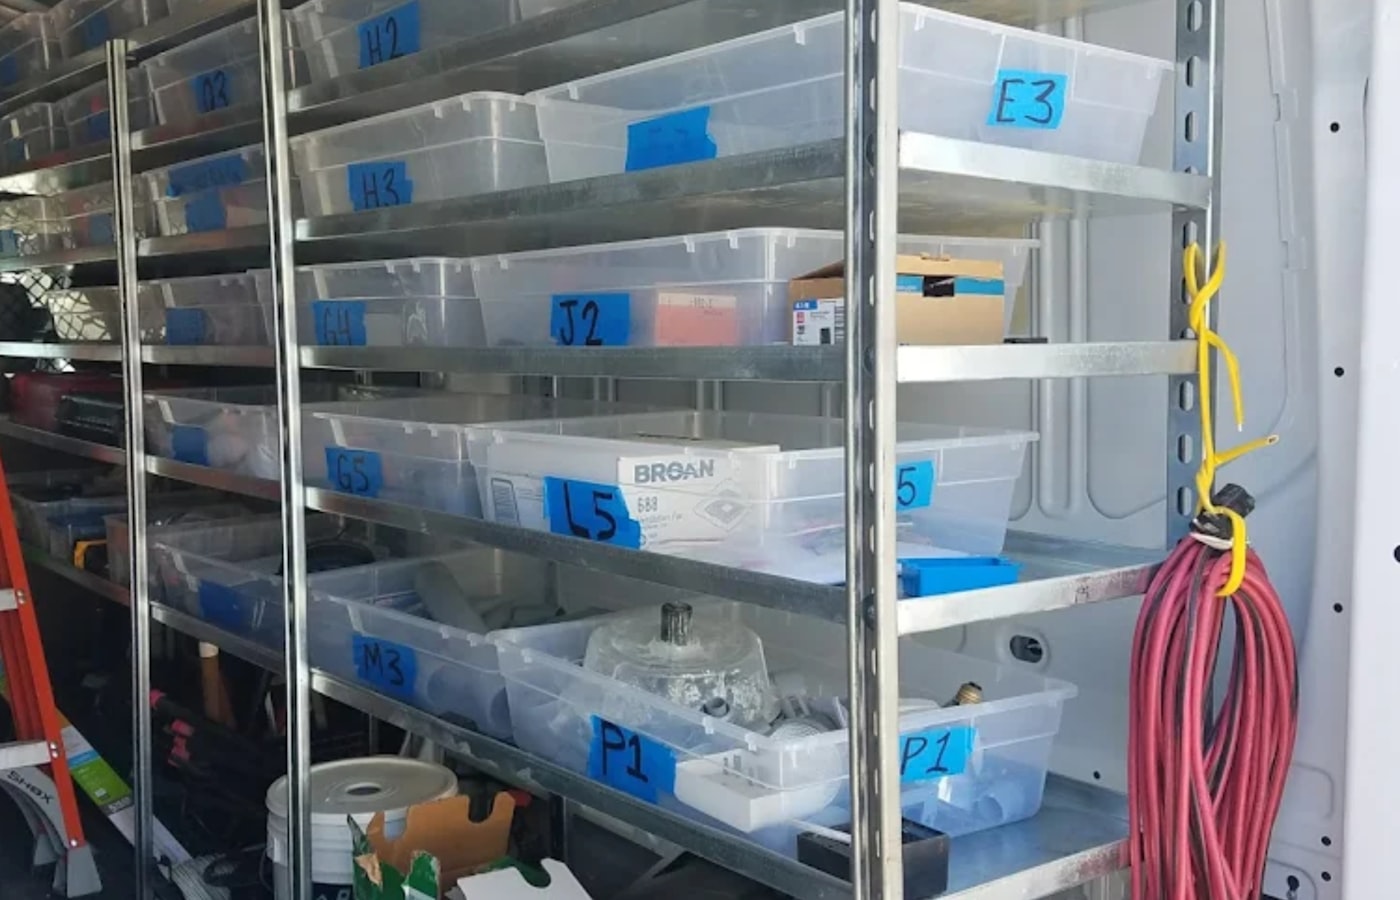
I like clear bins for categories that change often: kids’ supplies, craft items, pantry backups, seasonal accessories, and small tools. But if the contents are visually loud, the bin needs grouping, labels, and sometimes a little privacy.
Use clear bins where visibility actually helps
Clear bins are most useful when seeing the contents saves time. If you reach for batteries, first-aid items, light bulbs, craft supplies, gift wrap tools, spare toiletries, or small pantry backups, a transparent container can prevent duplicate buying and quick searches through closed boxes.
They are less useful when the contents are bulky, ugly, private, or rarely needed. Old cables, mismatched paperwork, half-used paint tools, and random catch-all items can make a clear bin look messy even when the container itself is neat. In those zones, an opaque bin or a closed cabinet may look calmer.
Before choosing clear bins, ask whether visibility solves a real problem. If the problem is forgetting what you own, clear storage helps. If the problem is visual noise, clear storage may need stricter rules than a solid container would.
A good clear-bin zone should be easy to scan from a normal standing position. If the bin is stacked too high, too deep, or hidden behind other items, transparency will not help much. The container becomes just another box you avoid moving.
Start with one visible shelf before changing the whole house. A linen shelf, entry cabinet, pantry backup shelf, or laundry refill zone is enough to test whether clear bins make the area easier to use.
Group clear bins by one clear category
The fastest way for clear bins to look messy is mixing unrelated items in the same container. A bin with tape, candles, chargers, sunscreen, pet supplies, and spare hardware may be technically visible, but it still feels confusing. Clear storage only works when the category is obvious.
Choose one job per bin. That job can be broad, such as “guest bath backups,” but it should not be vague. If the category is too broad, split it by activity, room, person, season, or frequency of use. The point is to make the contents understandable before the lid even opens.
Useful clear-bin categories include:
- Extra toiletries for one bathroom.
- Kids’ art supplies used at the table.
- Pantry backups for baking or snacks.
- Seasonal hats, gloves, or small accessories.
- Cleaning refills kept away from daily-use supplies.
Do not fill every bin to the rim just because the sides are clear. A little empty space makes contents easier to see and easier to return. When the bin is packed tight, you stop using visibility and start digging again.
If two categories keep ending up together, that is usually a sign the bins are too small, too far from where the items are used, or labeled in a way that does not match real household habits.
Control color and packaging inside the bins
Clear bins reveal color, labels, brand packaging, cords, lids, wrappers, and odd shapes. That is why two bins with the same amount of stuff can look very different. One may look calm because the contents share a purpose and color range, while another looks chaotic because every package is competing for attention.
You do not need to make storage look staged, but you can reduce the loudest clutter. Remove bulky outer packaging when it is safe and useful. Keep small items in pouches or smaller containers inside the bin. Turn product labels to the side if the bin sits in a visible area.
This matters most on open shelves. A closet with a closed door can tolerate more visual noise than a laundry shelf beside the kitchen or a pantry shelf you see every day. Match the neatness level to how visible the storage area is.
Clear bins should make the category easier to understand, not put every tiny item on display. If the contents look distracting even after grouping, use a frosted bin, a front-facing label, or an opaque container for that category.
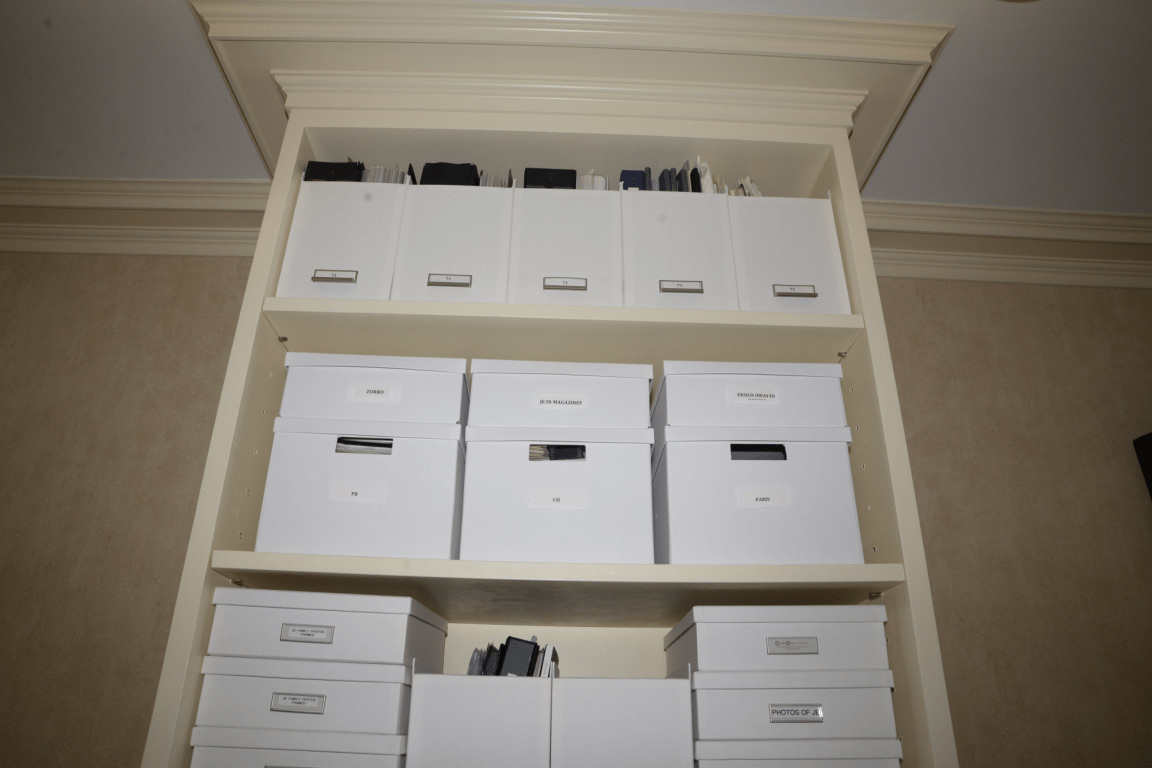
Label clear bins even when you can see inside
Labels still matter with clear bins because visibility does not always explain the rule. A bin may show bottles and tubes, but the label tells you whether they are travel toiletries, guest supplies, first-aid backups, or products waiting to be used before buying more.
Keep labels simple and front-facing. Use large enough text to read from the shelf, and place the label in the same spot on every bin. Consistency makes the whole shelf look calmer. If labels are scattered across lids, sides, handles, and tape corners, the storage starts to feel unfinished. That same decision is easier to maintain when pre-move decluttering gives the storage step a clearer place in the room.
Labels also help other people in the house put things back correctly. Without a label, a clear bin can become a shared dumping spot because everyone can see there is room inside. With a label, the bin has a boundary.
Good label wording is short:
- Light bulbs
- Travel toiletries
- Gift wrap tools
- Winter accessories
- Baking backups
If you want the shelf to look quieter, use the same label style on every container. Matching white labels, simple black text, or one color of painter’s tape can make mixed clear bins feel more intentional.
Leave shelf space around clear bins
Clear bins look cleaner when the shelf around them has breathing room. If bins are wedged side by side with no space to pull them forward, the area feels crowded even if everything is contained. A little gap gives your eye a place to rest and makes the bins easier to use.
Match bin size to shelf depth. Deep shelves can use handled bins or pull-forward containers. Shallow shelves need smaller bins that do not hang over the edge. If the bin is too tall, it may hide what is behind it or scrape the shelf above whenever you move it.
Try to keep one visual line across a shelf. Bins do not need to be identical, but a row of similar height and shape looks calmer than a mix of tall tubs, tiny boxes, bags, and loose items. If you already own different containers, group the most similar ones together.
Stack clear bins only when the lower bin is rarely used or the lids are strong enough for the weight. Daily-use bins should slide out easily. If you have to unstack three containers to reach one item, the system will not survive a busy week.
Reset clear bin storage before it turns into clutter
Clear bins make clutter visible earlier, which is useful if you respond to it. A messy clear bin is not a failure; it is a signal that the category has expanded, the label is too vague, or the container is being used as a temporary drop zone.
Use a quick reset routine:
- Pull out one bin instead of emptying the whole shelf.
- Remove anything that does not match the label.
- Group small loose pieces into a pouch or smaller container.
- Throw away empty packaging and expired items.
- Return the bin with the label facing forward.
Do this when a bin becomes hard to close, hard to read, or hard to explain. If you cannot describe the category in a few words, the contents probably need to split into two bins or move somewhere else.
A reset is also a good time to check whether clear is still the right choice. Some categories start neat and become visually noisy as packaging changes. Moving only that one category to an opaque bin can improve the whole shelf without rebuilding the system.
Clear bins are useful when they reduce searching and buying duplicates. Keep the categories tight, the labels consistent, and the shelf spacing calm. Then the clear container does its job without turning your storage into a display of every loose item you own.