How to Organize Storage Bins So You Can Find Everything
Published Updated

I bring a warm, detail-oriented eye to home routines, decluttering ideas, and everyday ways to make a space feel easier to live in.
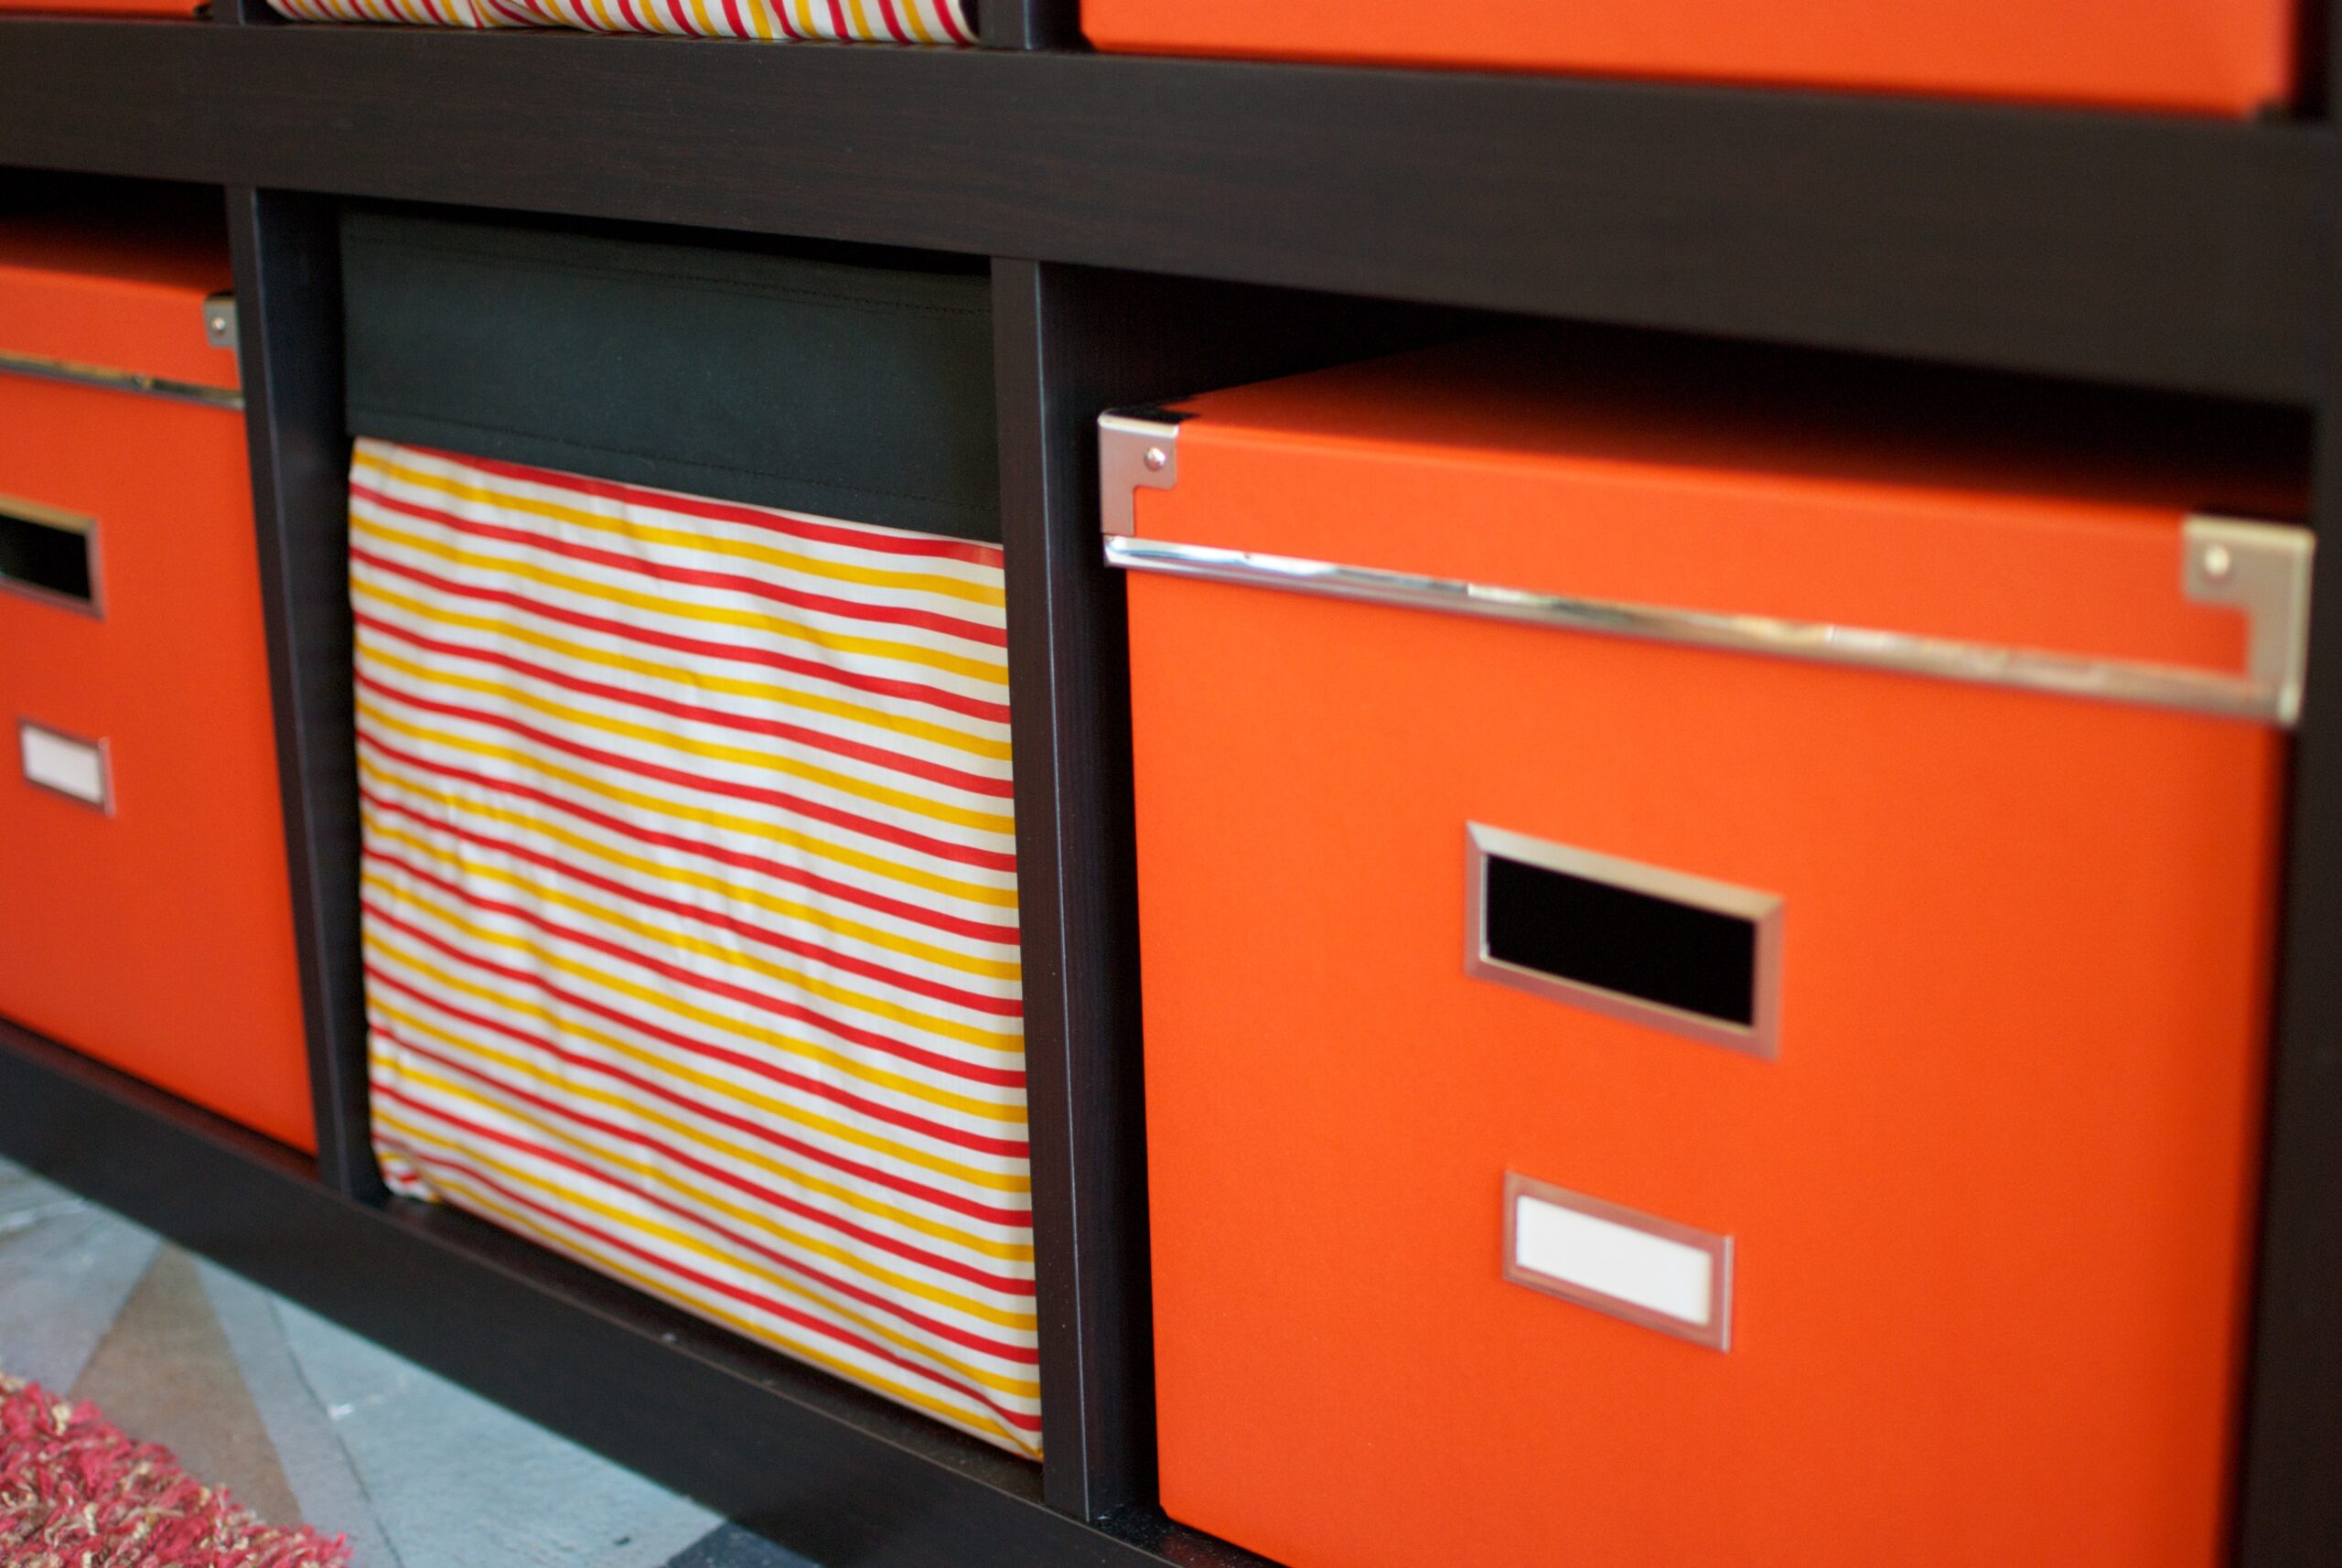
Storage bins are useful when you can identify the contents and reach them without shifting an awkward stack. Follow shelving load and anchoring instructions; CPSC furniture safety guidance covers tip-over prevention.
The difference is whether each bin has a narrow job, a useful label, and a place that matches how often the contents are needed.
Sort bins by purpose before choosing labels
Decide what task each bin supports before writing its label. A label cannot fix a bin that contains holiday lights, old chargers, craft paint, and spare towels together. The category should be narrow enough that the contents make sense without digging.
Pull out one bin at a time and decide the job it should serve. If the bin has more than one unrelated job, split it or remove the weakest category. The label becomes a real promise instead of a vague suggestion.
A bin category should be clear enough that another person could add an item without asking. If the name is vague, the contents will become vague too.
Keep frequent-use bins easy to reach
Place high-use bins at waist or eye level and move rare categories higher or deeper. Heavy bins should stay low even if they are rarely used. The storage area becomes safer and less annoying to use.
Access matters more than matching containers. A bin used every week should not sit under three seasonal bins just because the stack looks tidy.
| Decision | Practical check |
|---|---|
| Seasonal items | Label by season; keep heavy bins low |
| Tools or supplies | Group by task, not by random leftovers |
| Kids or hobby items | Use open bins when access is frequent |
| Memory items | Use smaller limits and safer containers |
Label bins with names people actually use
A label like miscellaneous is almost the same as no label. Use plain phrases such as winter hats, gift wrap, extension cords, beach towels, or tax papers.
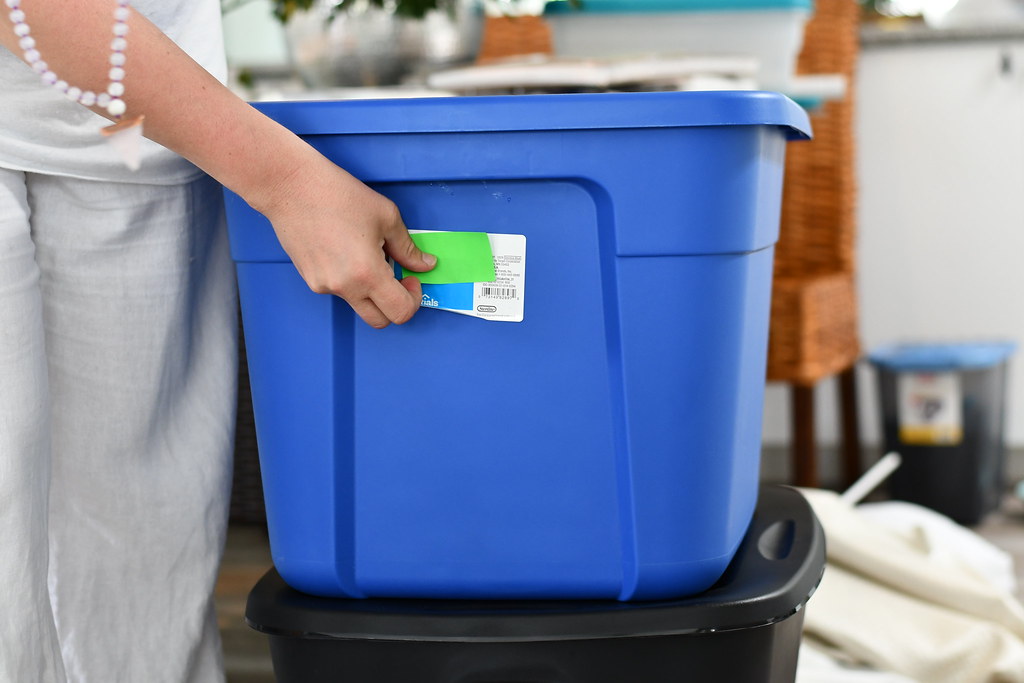
Put labels on the front and one side if bins stack or rotate. Do not over-label individual items inside a simple category. Anyone in the household can find the right bin without asking.
Labels should use the words your household says naturally. Fancy labels fail when nobody recognizes what belongs inside.
Use clear bins only when visibility helps
Clear bins with distinct categories can make the contents easier to recognize. Craft supplies, shoes, toys, and pantry overflow can benefit from visibility.
Clear bins help only when the inside is controlled. If the contents are mixed, transparency simply makes the confusion easier to see.
- Use fewer broad categories.
- Label two sides when bins stack.
- Keep heavy bins low.
- Review mystery bins before buying more.
Add a simple inventory for deep storage
Deep storage is where people forget what they own and buy duplicates. A small card taped inside a closet door can list holiday lights, air mattresses, spare cables, or camping items.
Write only the categories that are expensive, seasonal, or easy to forget. Do not build a spreadsheet for items that are used weekly and obvious. Storage becomes a memory aid instead of a hiding place.
A tiny inventory is useful for deep storage because it prevents duplicate buying. Keep it short enough that updating it takes less than a minute.
- Empty one bin.
- Remove items that no longer belong.
- Group the remainder.
- Label by category and date.
Review bins before adding another container
Buying one more bin often delays the real decision. If five bins are already half full, the problem may be categories, not container count.
Review old bins before buying new ones and remove anything that no longer fits the household. A new container should solve a known access problem, not absorb undecided clutter. The storage system stays smaller, clearer, and easier to maintain.
Before buying another container, open the oldest mystery bin. Most storage problems shrink when forgotten items are removed first.
When a bin is opened, remove anything that belongs somewhere else before closing it again. If you repeatedly take the same item out, move it closer to daily use. If the category changes, update the label at that point rather than leaving an inaccurate description on the container.
Fit the filled container, not just the empty box
A bin that slides neatly onto a shelf when empty may become awkward once it holds books, tools, or decorations. Check the bin and shelf load ratings, leave room to grip it, and keep dense categories low. Stack only containers intended for that use, within their limits; do not assume a lid is a weight-bearing shelf.
Leave the category's handling information visible. A label can say fragile, keep upright, or seasonal, but it must not replace chemical warnings or food labels. Keep hazardous products in their original containers and secured from children. A shared craft bin and a cleaning-refill bin need different access arrangements even if they are the same size.

Keep this guide handy
An illustrated summary made for JundHaus. Read the guide above for the details and cautions.
Save to Pinterest (opens in a new tab)