How to Organize Kitchen Cabinets for Everyday Use
Published Updated

By Silas Payao
I write practical cleaning and organization guides focused on simple routines, realistic storage ideas, and calmer home systems.
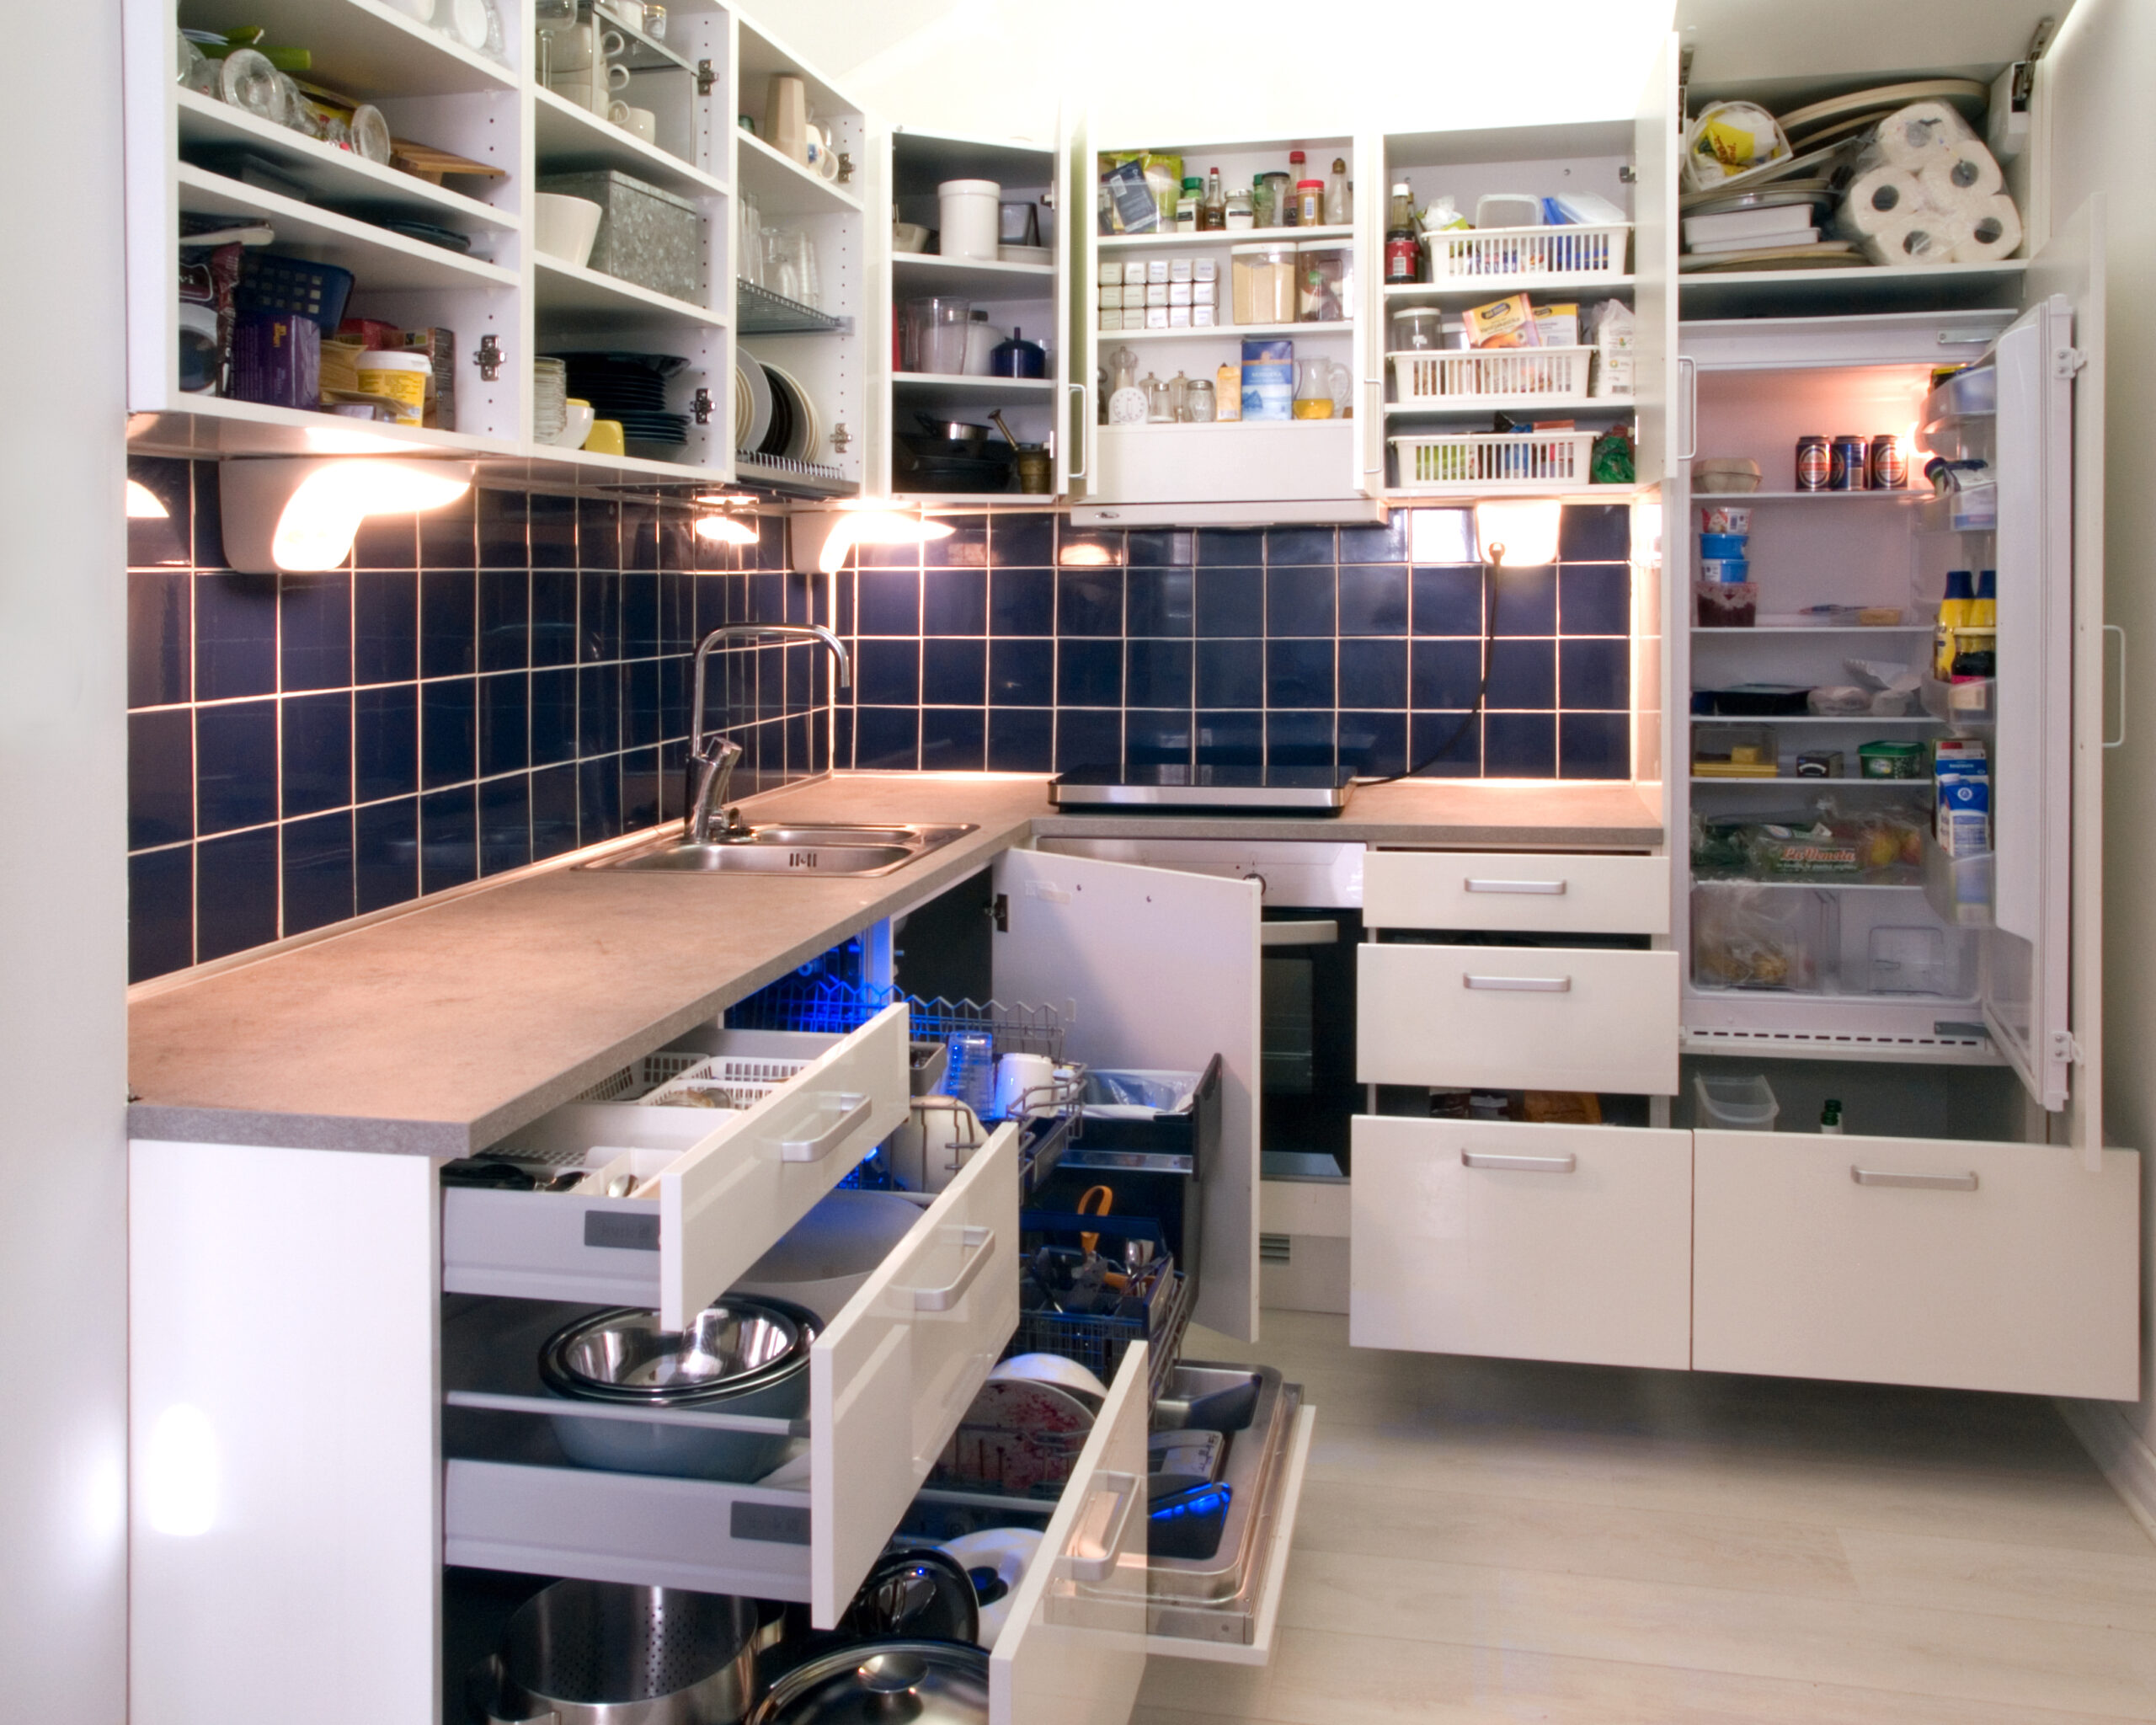
Kitchen cabinets fail when they are arranged for how they look with the doors open instead of how cooking happens on a tired evening.
The better order starts with reach, weight, frequency, and cleanup. A cabinet system should make the next meal easier, not require everyone to remember a complicated map.
Place daily dishes where unloading is easiest
Start with the dishes that leave the dishwasher or drying rack most often. The most-used plates, bowls, mugs, and glasses should live close to the dishwasher, sink, or table path. If unloading requires crossing the kitchen, clean dishes are more likely to sit out. Keep refrigerated food in its required cold storage rather than treating it as ordinary cabinet backstock.
Choose the easiest shelf for the items used every day and move special-occasion pieces away from that space. Avoid stacking so high that one plate cannot be removed without lifting the whole pile. Daily cleanup becomes quicker because the cabinet supports the normal route.
Watch the path from dishwasher to cabinet before deciding where dishes belong. The shortest route usually beats the prettiest shelf arrangement.
Store heavy pans low and near the cooking zone
Put skillets, pots, lids, and baking sheets near the stove or prep counter. If lids constantly slide, use one divider or a shallow bin instead of stacking them loose. Cooking starts with less noise, less lifting, and fewer cabinet avalanches.
Pan storage should be tested with the heaviest item, not the easiest one. If that item is awkward to lift, the shelf is too high or too crowded.
| Decision | Practical check |
|---|---|
| Daily dishes | Eye-level shelf near the dishwasher or table |
| Heavy pans | Low shelf close to the stove |
| Food containers | One matched zone with lids controlled |
| Rare tools | High or less convenient cabinet space |
Control food containers before they take over
Containers multiply because lids and bottoms separate and nobody wants to check them during cleanup. One cabinet or drawer should hold the whole category so mismatches are obvious.
Match every lid to a base, remove damaged pieces according to their material and local disposal rules, and keep only the sizes the household actually uses. Do not let takeout containers outnumber the containers you trust. Leftovers become easier to pack because the right lid is not hiding elsewhere.
Container storage needs a lid rule that everyone can follow. Loose lids without matching bases should leave before they multiply again.
Move rare tools out of prime cabinet space
Prime shelves should not be occupied by holiday platters, novelty gadgets, or appliances used twice a year. Those items can live higher, farther away, or in a storage area if the kitchen is small.
Rank tools by use and reserve the best cabinet space for weekday cooking. If a tool has not been used in a year, question whether it deserves kitchen space at all. The kitchen begins to serve real meals instead of theoretical projects.
- Keep heavy items low.
- Store daily dishes in the easiest reach zone.
- Separate food storage lids from random extras.
- Leave space for hands, not just objects.
Create a small cleanup and supply zone
Dish soap, dishwasher tabs, trash bags, sponges, and towels often scatter between sink, pantry, and random drawers. A small zone near the sink can prevent repeated searching.
Group supplies by job and keep backups behind the active item. Cleaning chemicals should stay safely separated from food and out of reach of children or pets. The end of cooking feels less chaotic because cleanup supplies are where the mess happens.
Cleanup supplies need safety as well as convenience. Keep food, cleaners, and child or pet access in mind before choosing the under-sink layout.
- Empty one cabinet.
- Group by use.
- Wipe shelves.
- Return only what belongs in that zone.
Review the cabinet after one normal cooking week
A cabinet layout only proves itself after real use. Watch which doors stay open, which stacks lean, and which items keep landing on the counter.
Make one adjustment at a time after a week of cooking and unloading. Resist a full reorganization if only one shelf is causing friction. The system improves without becoming another large kitchen project.
Check the layout after unloading dishes and cooking an ordinary dinner. If one cabinet is avoided or a stack keeps shifting, change that shelf first. When several people share the kitchen, ask which return location is hardest to remember before adding another category.
Check height and load before rearranging
Use cabinet and organizer instructions for shelf loads and attachments. Dense stacks of dishes and heavy appliances should not be placed high merely because the shelf is empty. Leave enough room for both hands to lift the item. If a shelf sags, its fixings are loose, or the load limit is unknown, resolve that before filling it.
Choose a suitable step stool for an occasional light item rather than standing on a chair or counter. Keep the landing space clear before bringing an item down. For a renter or shared kitchen, make changes that other users can understand and that the existing cabinet can safely support.

Keep this guide handy
An illustrated summary made for JundHaus. Read the guide above for the details and cautions.
Save to Pinterest (opens in a new tab)