How to Organize Baking Supplies in a Small Cabinet

Baking supplies can take over a cabinet because they come in awkward shapes: flour bags, sugar boxes, cocoa tins, extracts, decorating tips, parchment rolls, muffin liners, cookie cutters, measuring cups, and pans that never stack neatly. In a small kitchen, one messy baking shelf can make the whole cabinet harder to use.
Learning how to organize baking supplies in a small cabinet starts with choosing what deserves cabinet space and what can live somewhere else. The goal is not to make the cabinet look like a display. It is to make baking easier without wasting the limited storage you have.
A good small baking cabinet keeps frequently used ingredients reachable, groups tiny tools before they scatter, protects dry goods from spills, and leaves enough room to pull one item out without unloading the whole shelf.
Empty the cabinet and sort baking supplies by use
The fastest way to understand a small baking cabinet is to empty it completely. A partial shuffle usually hides duplicates and expired ingredients. Put everything on a table or counter, then group items by how they are used: dry ingredients, sweeteners, flavorings, decorating supplies, measuring tools, liners, pans, and occasional specialty items.
Check dates as you sort. Flour, nuts, baking powder, yeast, chocolate, oils, and sprinkles can all become stale. If something smells off, has clumps that do not belong, or has not been used in years, remove it. A small cabinet cannot afford to store ingredients that make you hesitate every time you see them.
Also notice duplicates. Many cabinets contain two open bags of powdered sugar, three boxes of baking soda, or several half-used bags of chocolate chips. Combine only items that are the same type and still fresh. Keep one active container and make a note before buying more.
Sorting is where the cabinet gains space before any container is purchased.
Once the supplies are grouped, decide which items are used weekly, monthly, seasonally, or almost never. The daily and monthly items should earn the easiest spots.
Create small zones for ingredients, tools, and pans
A tiny cabinet becomes easier to manage when every item belongs to a zone. Zones do not need labels on the shelf, but they should make sense when you open the door. Keep flour, sugar, baking powder, and cocoa together. Keep extracts, food coloring, and small bottles in one tray. Keep measuring tools near the ingredients they measure.
Pans and bulky tools need their own decision. If a muffin tin, loaf pan, or cooling rack blocks access to ingredients, the cabinet will become frustrating again. Store pans vertically if the shelf height allows it, or move rarely used pans to a higher cabinet, pantry shelf, or storage bin outside the kitchen work zone.
Use this simple zone plan as a starting point:
| Zone | What belongs there | Best small-cabinet helper |
|---|---|---|
| Dry basics | Flour, sugar, cocoa, leaveners | Clear containers or bins |
| Small tools | Measuring spoons, tips, cutters | Shallow box or pouch |
| Flavorings | Vanilla, extracts, spices | Narrow tray |
| Pans and liners | Muffin tin, parchment, cups | Vertical divider |
The zones should match how you bake. If you decorate often, decorating supplies may deserve a prime spot. If you bake simple muffins and cookies, dry basics should be the easiest zone to reach.
Use containers only where they solve a real problem
Containers can help a baking cabinet, but they can also waste space if they are chosen for looks instead of fit. Before buying anything, measure shelf height, depth, and width. A container that is too tall or too deep may hold flour beautifully but block everything behind it.
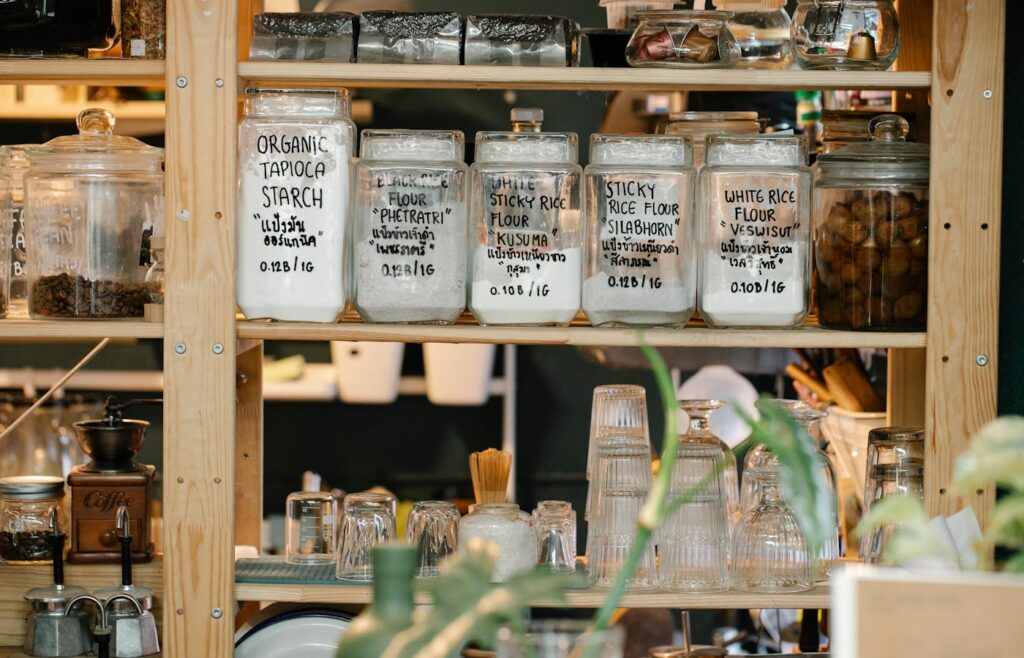
Use airtight containers for ingredients that spill easily or need freshness protection, such as flour, sugar, brown sugar, cocoa, and chocolate chips. Use bins for packets, liners, sprinkles, and tiny supplies that would otherwise slide around. A bin can be more flexible than a matching jar when the contents change often.
Square or rectangular containers usually use space better than round ones in a cabinet. Clear containers make it easier to see what is low, but labels still matter because flour, powdered sugar, and starch can look similar in a hurry. Write the name and, when useful, the date opened or expiration date.
The right container should make the cabinet easier to use, not just nicer to photograph.
If an ingredient is used rarely, do not give it the largest container. Small supplies should stay small so the cabinet’s best space remains available for everyday baking basics.
Keep tiny baking tools from spreading through the shelf
Small baking tools are often the reason a cabinet feels messy even after the ingredients are neat. Cookie cutters, piping tips, birthday candles, measuring spoons, bag clips, cupcake picks, and loose packets can fall behind containers or slide into corners. Group them before they disappear.
Use one shallow bin, zipper pouch, divided box, or small drawer insert for each type of tiny item. The exact organizer matters less than the boundary. If cookie cutters are in one box and decorating tips are in another, you can pull out the whole group instead of searching through the cabinet shelf. Small-space organization works better when storage ideas for blankets and extra bedding keeps storage useful without making the room feel crowded.
Keep measuring tools close to dry ingredients if you use them often. If measuring cups and spoons live in a different drawer, that is fine, but avoid storing backup sets in the baking cabinet unless they are truly needed. Duplicates take space quickly.
Good tiny-tool categories include:
- cookie cutters and biscuit cutters;
- piping tips, bags, and small decorating tools;
- cupcake liners, parchment sheets, and labels;
- bag clips, twist ties, and scoop tools;
- birthday candles, sprinkles, and seasonal decorations;
- small packets such as yeast or gelatin.
A small cabinet works better when little items are stored as groups instead of individual pieces. That same decision is easier to maintain when create a simple pantry inventory system gives the storage step a clearer place in the room.
Place heavy and frequent supplies where they are easy to lift
Heavy baking supplies should not be stored where they are awkward to remove. Large flour containers, sugar jars, mixing bowls, and pans can be hard to lift from high shelves or deep corners. Put the heaviest frequently used items at a comfortable height and close to the front.
If the cabinet is deep, use bins that pull forward like drawers. This prevents ingredients from getting lost in the back. A bin for dry basics, a tray for flavorings, and a vertical file for flat pans can make a small cabinet feel more like a set of simple sections.
Do not stack fragile or messy items too high. A pile of pans may save space until you need the bottom pan. A stack of loose bags may collapse every time the door opens. If stacking is necessary, put flat, sturdy items together and keep open bags inside a bin.
Before finishing the cabinet, test the reach:
- Can you remove flour without knocking over flavorings?
- Can you see leaveners and dates without digging?
- Can pans slide out without scraping containers?
- Can small tools return to their boxes quickly?
- Can the door close without pushing items backward?
Accessibility matters because an organized cabinet only stays organized when the easiest choice is also the correct one.
Reset the baking cabinet after busy baking weeks
A baking cabinet will not stay perfect during holidays, school events, birthdays, or weekend baking projects. That is normal. The real system is the reset, not the first organizing session. A short reset keeps spills, duplicates, and half-empty packages from taking over again.
Use this cabinet reset routine after a busy baking period:
- Remove loose packets, empty bags, and expired ingredients.
- Wipe flour, sugar, or cocoa dust from the shelf.
- Refill only the containers you actually use.
- Return tiny tools to their bins or pouches.
- Move seasonal decorations away from the front.
- Write down low ingredients before shopping.
- Check that pans and trays still slide out easily.
Keep a small note inside the cabinet or on a phone list for ingredients that run low often. This prevents buying another bag of something you already have while forgetting the item you actually need.
Organizing baking supplies in a small cabinet is mostly about limits. Keep the best space for ingredients and tools you use, give tiny items a boundary, store heavy things where they are easy to lift, and reset the shelf after busy baking. The cabinet does not need to be large to feel calm and useful.