
Set Up a Donation Box Without Creating More Clutter
Published
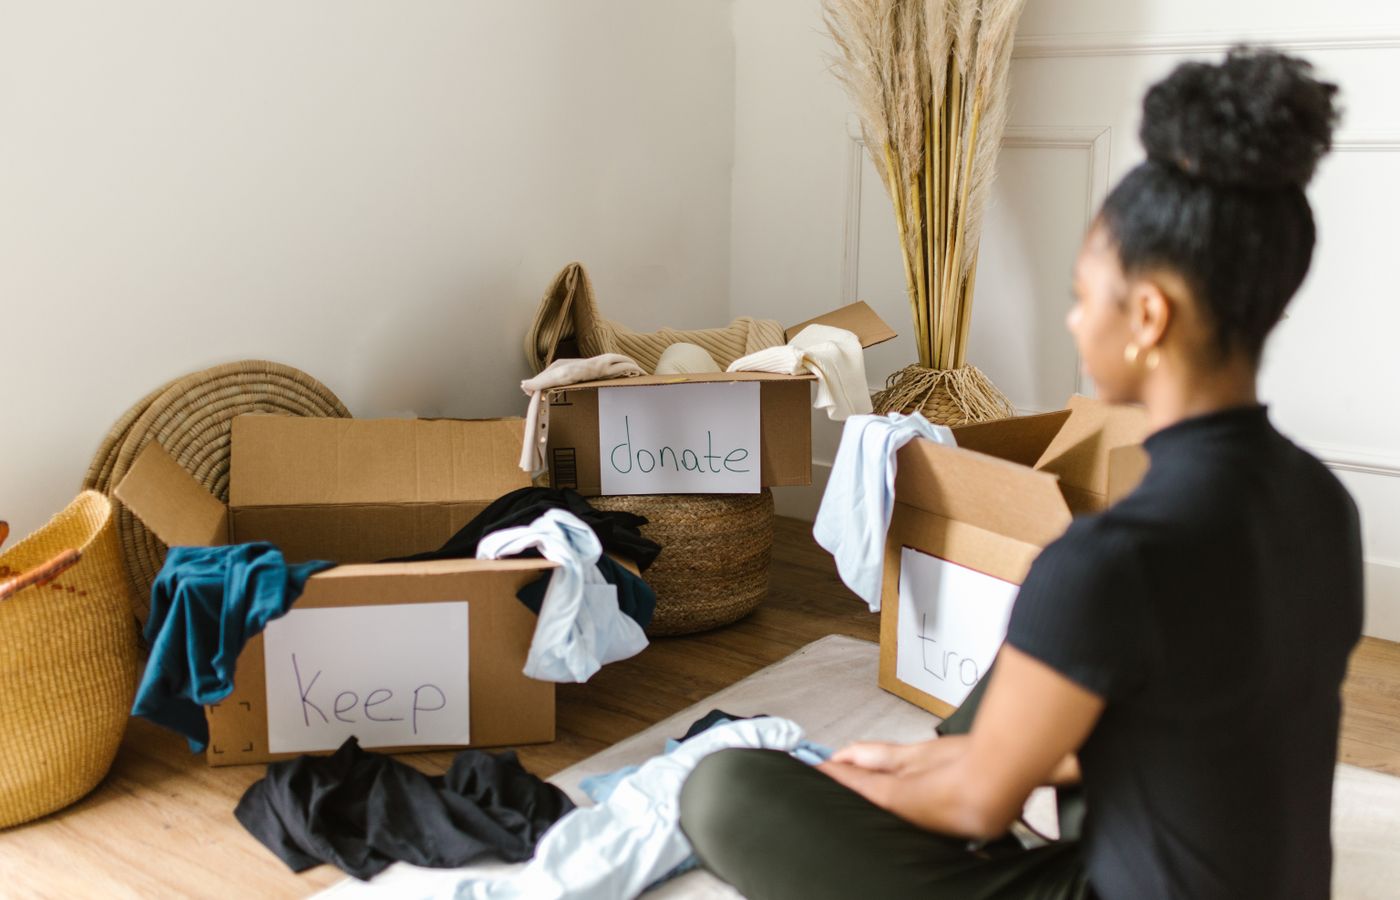
A donation box works only if the contents have a realistic destination. Without one, it becomes another place to store decisions. Before putting the first item inside, choose a manageable container, check what a recipient accepts and decide how the items will leave your home.
You do not need a separate box for every room. Start with a small outgoing area that does not obstruct a doorway, escape route or everyday access. If you cannot safely lift the filled container, use smaller ones rather than relying on somebody else being available later.
Check acceptance before sorting a large pile
Look up the actual organization or contact the person receiving the items. Accepted goods, condition requirements, collection arrangements and opening hours vary. A general assumption that “charities take household things” is not enough for furniture, electrical items, bedding or specialist equipment.
Find out whether an appointment or collection booking is needed before moving bulky items to the hallway. A planned collection is not confirmed until the receiving organization has agreed. Keep the confirmation and any preparation instructions where you can find them.
If an item is outside the recipient’s scope, do not add it in the hope that staff will deal with it. Choose another appropriate route. For unfamiliar items, a note saying “acceptance not checked” is more useful than sealing the box and forgetting the uncertainty.
Only put decided items in the outgoing box
The box should contain things you have chosen to give away and have the authority to give away. Shared belongings and another person’s possessions need agreement. “They probably do not want it” is not the same as consent.
Keep undecided items somewhere separate and bounded. Otherwise, every attempt to drop off a donation becomes a fresh argument about the contents. If the decision is difficult, the guide to questions before keeping items can help you examine use and ownership without treating hesitation as a failure.
Do not hide urgent paperwork, keys or borrowed things in the donation container while clearing a surface. Those items need action or return, not disposal. A short final contents check is easier when the box has not doubled as temporary storage.
Set a capacity limit that you can maintain
Choose a container that fits the available space, then treat a full box as a signal to arrange its exit. Do not automatically open a second and third box because the first has been ignored. A capacity limit exposes the missing step in the process.
Keep clothing clean and dry according to the recipient’s instructions. Keep breakable items protected and sharp objects out of a mixed loose pile. Store the box away from children and pets where its contents could create a hazard. A closed lid alone is not secure storage for unsuitable objects.
Items that need cleaning, checking or matching with missing parts are not ready to donate. Give them a separate action note rather than burying them under ready items. If you cannot complete that action, reconsider whether donation is the right destination.
Use a departure note, not a complicated inventory
A simple note can contain the recipient, accepted contents, any preparation needed and the planned drop-off or confirmed collection. Include the opening hours or booking reference if that prevents another delay. A photograph of the filled box can be useful for your own record, but is not a receipt or proof of eligibility for a tax deduction.
For example, a hypothetical note might say: “Clean adult clothing; acceptance checked with the local collection point; drop-off during the confirmed Saturday opening; one small bag.” The useful part is that every statement can be checked. Replace a vague “donate soon” with the actual action available to you.
If your route changes, update the note. Do not leave goods outside a closed collection point unless that recipient explicitly provides an authorized drop-off facility and permits the items. A closed door does not make the pavement an alternative donation desk.
Give rejected items a different route
A rejected donation should not circulate endlessly between the same boxes. Identify why it was rejected: condition, category, missing parts or lack of storage. A different suitable recipient may be possible, but only after checking. Recycling or appropriate disposal may be the better route.
Do not donate an unsafe or recalled product. For U.S. products, the CPSC recall database is one place to check the exact model; other countries have their own product-safety authorities. Follow the remedy for a confirmed recall rather than passing the problem to another household. Household chemicals, batteries and similar materials also need the locally appropriate handling route.
After the handover, remove the departure note and return the empty box to its intended place. If another box is already waiting, check what blocked its exit before increasing the storage: an unconfirmed collection, unsuitable contents or a trip nobody has time to make. Change that step before filling another container.